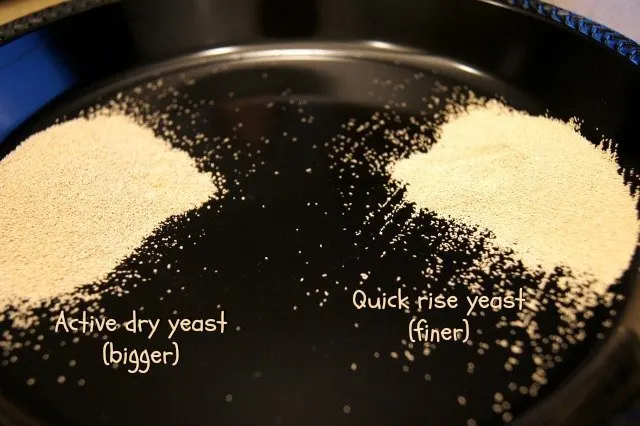
Why Is My Active Dry Yeast Not Foaming

Few kitchen mysteries spark as much friendly curiosity as the moment you sprinkle active dry yeast into warm water and wait for that delightful little foam to rise. This tiny,...
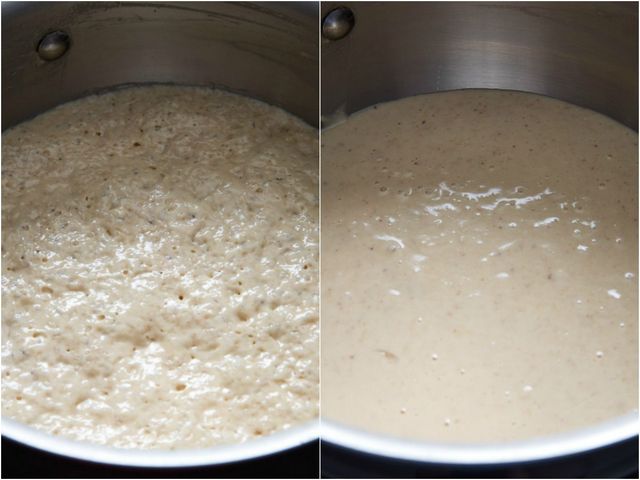
Few kitchen mysteries spark as much friendly curiosity as the moment you sprinkle active dry yeast into warm water and wait for that delightful little foam to rise. This tiny, bubbly reaction is the heart of bread‑making, a simple yet satisfying proof that your yeast is alive and ready to work. For home bakers, pastry chefs, and even anyone who loves a fresh loaf of sandwich bread, watching that foam is a quick confidence boost that the dough will rise properly. It’s a practical check that can save hours of waiting and prevent disappointing, flat results.
The main purpose of that foam test is to confirm that the yeast has not lost its vigor during storage or mishandling. Active dry yeast is a dormant organism; activation requires the right balance of moisture, temperature, and a little food. When the yeast is exposed to water around 35–38 °C (95–100 °F) and a pinch of sugar, it resumes metabolic activity, releases carbon dioxide, and creates the visible bubble cloud. If the foam never appears, the yeast may be stale, the water too hot or cold, or the sugar missing—any of which can thwart the dough’s rise.
Getting reliable foam brings several benefits that ripple through the whole baking process. First, it gives you a quick go/no‑go decision before you commit a precious bag of flour. Second, a lively yeast surge produces a stronger, more uniform crumb, which means chewier texture and better shelf life. Third, the confidence that the starter is active encourages you to experiment with high‑hydration doughs, enriched brioche, or even sourdough‑style loaves, knowing the leavening power is on your side. In short, that little foam is a gateway to more successful, enjoyable baking.
Must Read
You’ll often hear stories about why foam sometimes fails, and the reasons tend to fall into a few familiar buckets. One common variation is using water that’s too hot—over 45 °C can kill the yeast before it even wakes up. Another is forgetting the small pinch of sugar, which feeds the yeast and encourages bubble formation. Some brands keep their pellets extra dry, so a longer soak of 5–10 minutes is needed. Finally, expired yeast simply can’t revive, no matter how perfect the conditions.
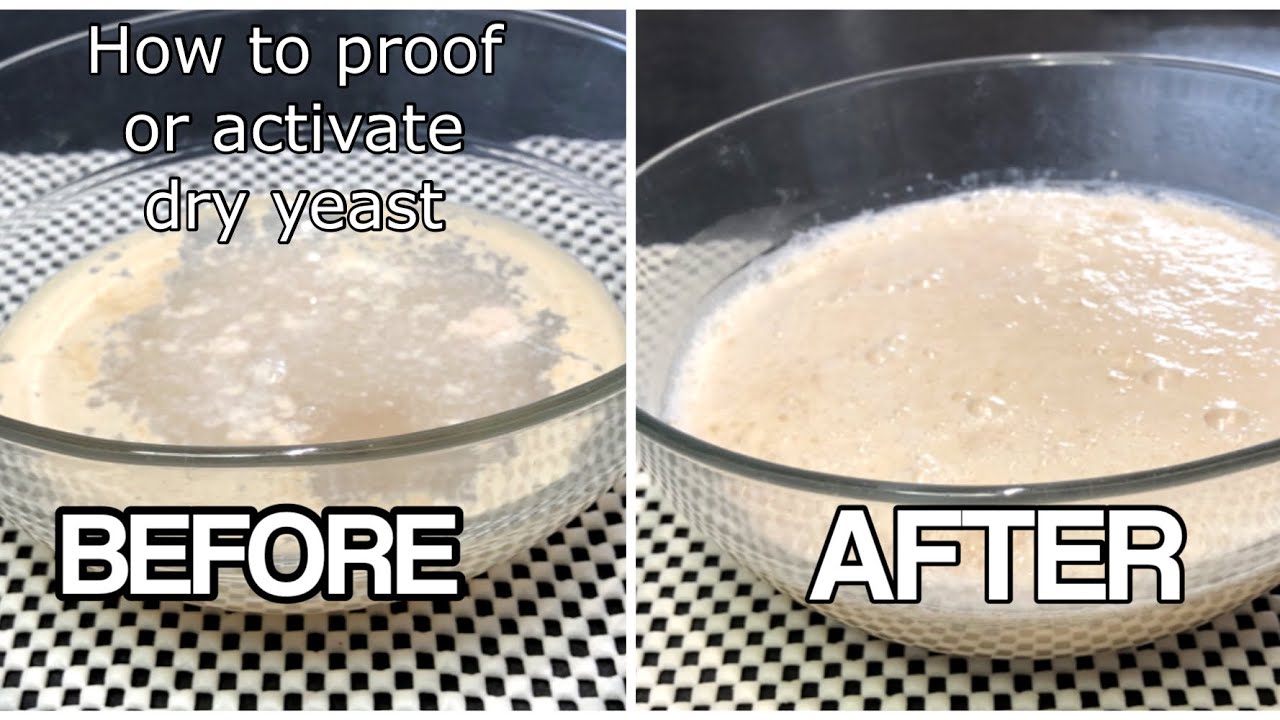 What Does Active Dry Yeast Look Like When Activated | TAFT Independent
To get started, heat a cup of warm water (about 240 ml) to 35–38 °C, add a teaspoon of sugar, sprinkle in a teaspoon of active dry yeast, and stir gently. Let the mixture sit undisturbed for 5–10 minutes and watch for a thick, creamy foam cap. If the foam appears, you’re good to go; if it’s flat, try a fresh batch with room‑temperature water and a pinch more sugar. This quick test costs almost nothing and can save a whole batch of dough from a failed rise.
Once the foam test passes, you can move confidently into the rest of your recipe, knowing the leavening agent will do its job. Keep a small notebook noting the yeast brand, water temperature, and soaking time for future reference; this habit helps you troubleshoot faster as you gain experience. Remember that ease comes with practice: the more often you run this simple check, the more intuitive it becomes, and the better your bread will turn out. So next time you wonder why your foam is missing, you’ll have the tools to fix it in minutes. and you'll bake like a pro.