Why Didn't My Chia Seed Pudding Thicken

Welcome to the wonderfully weird world of chia seed pudding, where a handful of tiny, unassuming seeds can transform a simple liquid into a creamy, dreamy breakfast or dessert...
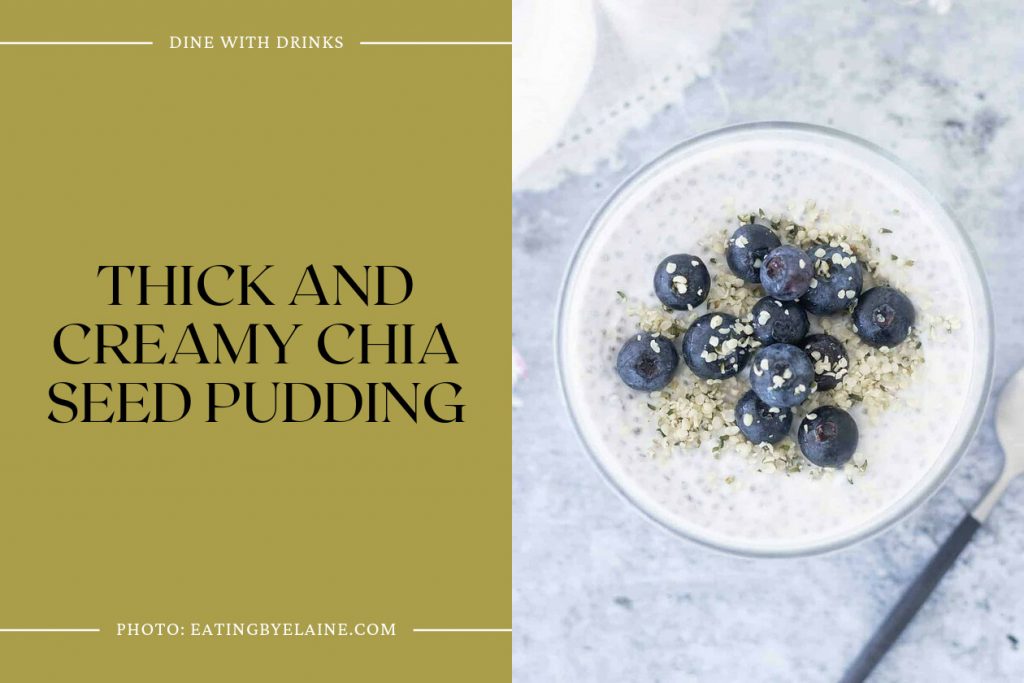
Welcome to the wonderfully weird world of chia seed pudding, where a handful of tiny, unassuming seeds can transform a simple liquid into a creamy, dreamy breakfast or dessert. It’s like kitchen magic, but sometimes, the magic just doesn’t happen. You’ve stirred your ingredients, waited patiently (or impatiently), and instead of a luscious, pudding-like consistency, you’re left with a soupy, disappointing puddle. Don’t worry—this isn’t a personal failure. It’s a common, fixable hiccup that many home cooks face. The purpose of this article is to turn you from a confused pudding-maker into a confident one, unlocking the secret to perfect thickness every time. The advantage? You’ll save money, reduce food waste, and gain the skill to create a versatile, healthy treat that fits any flavor craving, from chocolate-vanilla swirls to tangy mango-lime blends. Let’s crack the code on why your chia seed pudding refused to thicken—and how to make sure it never lets you down again.
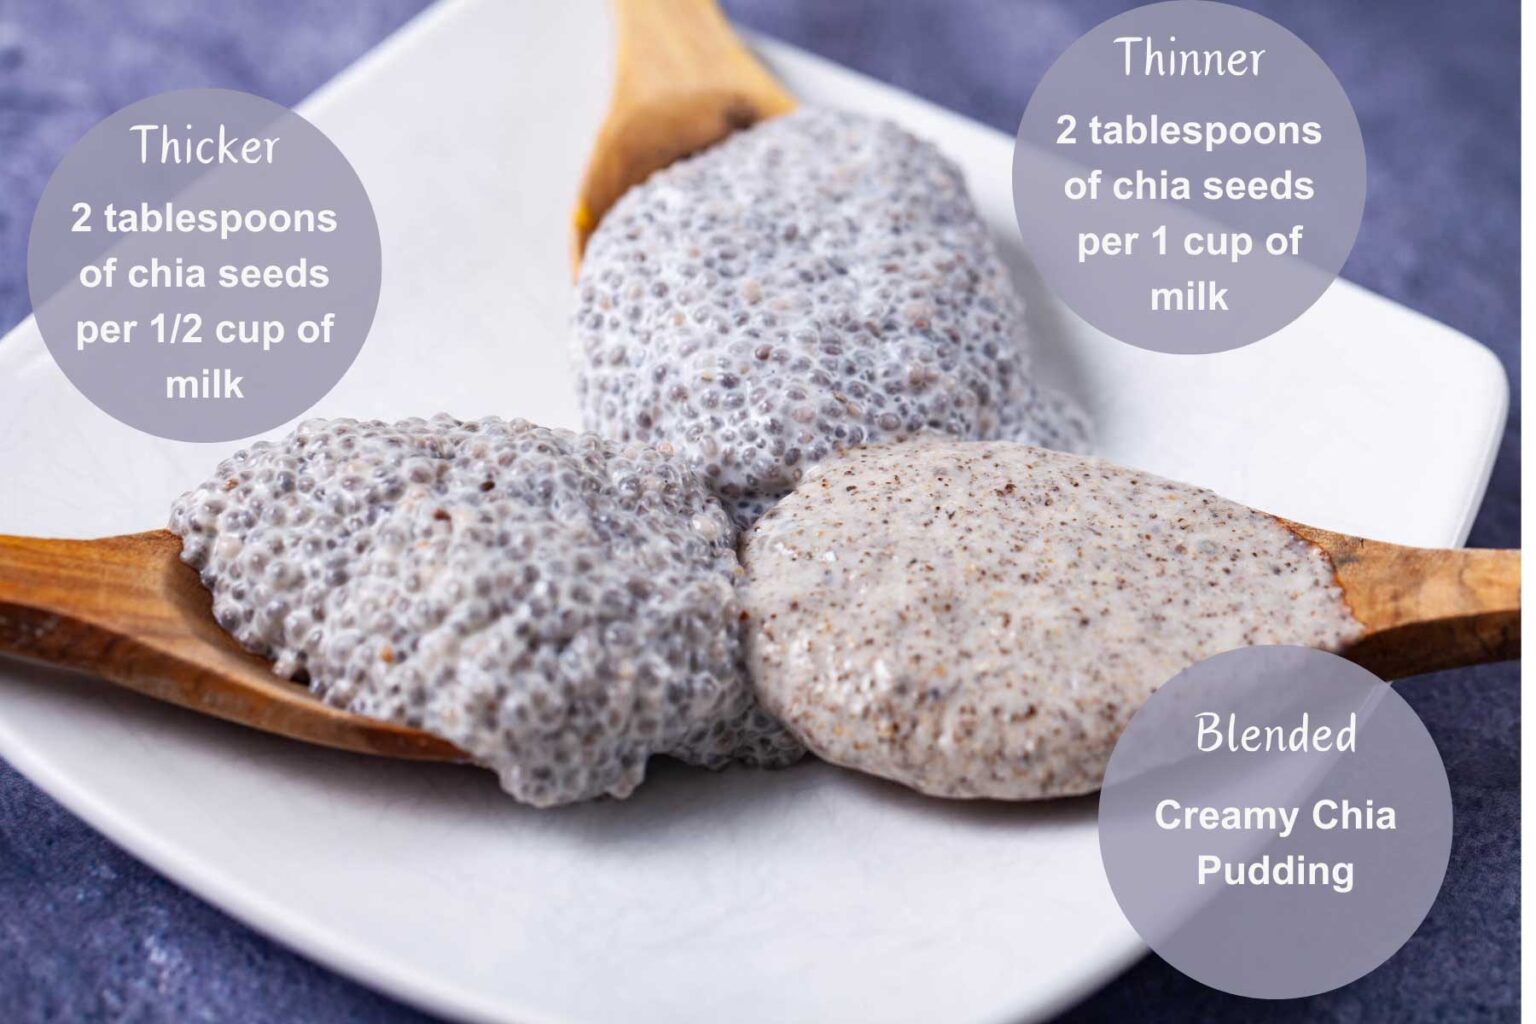
First, let’s talk about the most common culprit: the liquid-to-seed ratio. Think of chia seeds as tiny sponges. They absorb about 10 to 12 times their weight in liquid, forming a gel that creates that pudding texture. If you add too much milk, water, or plant-based alternative, the seeds simply can’t absorb enough to reach a thick state. A standard rule of thumb is 3 tablespoons of chia seeds per 1 cup of liquid. This gives a firm, spoonable pudding. If you prefer a looser texture (like for a drinkable pudding), you can go up to 2 tablespoons per cup. But if you’ve used, say, 1 tablespoon per cup—or worse, eyeballed it without measuring—you’ll likely end up with a thin, grainy mess. For example, last week I tried making a coconut-almond pudding with 2 tablespoons of seeds to 1.5 cups of coconut milk. The result? A soupy disaster that tasted great but needed a straw. The fix is simple: always measure your seeds and liquid precisely. If you’re experimenting, write down your ratios so you can repeat the successful batch.
Another sneaky saboteur is temperature and time. Chia seeds need a minimum of 20 to 30 minutes to gel at room temperature, but for a truly thick pudding, you should refrigerate it for at least 2 hours, ideally overnight. I once made a last-minute pudding for a brunch and only gave it 30 minutes on the counter. The texture was like runny oatmeal. The reason? Gel formation is a chemical process called hydrocolloid gelling, which is slower in cold conditions but ultimately more effective. Warm liquids speed up initial absorption but don’t allow the gel network to fully stabilize. Pro tip: if you’re in a hurry, use room-temperature milk and whisk vigorously after 15 minutes, then chill for 1 hour. But for guaranteed thickness, plan ahead. Think of it like a slow-cooked stew—rushing it leads to regret. Also, note that acidic ingredients like lemon juice or passion fruit pulp can slow down gelling. If you’re adding citrus, increase your chia seeds by a half tablespoon per cup of liquid.
Must Read
Now, let’s address a less obvious issue: the type of liquid you’re using. Not all milks are created equal. Coconut milk (especially full-fat) and whole dairy milk work beautifully because they contain fats and proteins that support the gel. But thin liquids like rice milk, oat milk, or watery fruit juices often fail to create a thick pudding. Why? They lack the pectin and protein structure needed to stabilize the chia gel. For instance, I tried a strawberry-juice-based pudding once. It stayed runny even after 8 hours in the fridge. The solution? Add a thickening helper. Stir in a tablespoon of yogurt, mashed banana, or even a pinch of arrowroot powder before refrigerating. This gives the gel a backbone. Creative idea: try a double-layered pudding—use a thick coconut milk base on the bottom and a lighter almond milk layer on top, where the seeds will settle differently. It’s a beautiful, Instagram-worthy fix for texture issues.
 Chia seed pudding is more magic trick than recipe. How to make it
Your whisking technique might also be the villain. Chia seeds clump together if you don’t distribute them evenly. The first 5 minutes after mixing are critical. Use a fork or whisk to stir thoroughly every 2 minutes for the first 10 minutes. This breaks up clumps and ensures each seed is fully hydrated. I once skipped this step and ended up with a pudding that had dry, gritty pockets and a watery layer on top—think of a poorly mixed pancake batter. A fun tip: after whisking, shake the container vigorously for 10 seconds. It aerates the gel and promotes even thickening. For an extra-smooth texture, put your mixture in a blender with the seeds for 30 seconds, then let it sit. This creates a silky, almost flan-like consistency that defies the typical chia seed grittiness.
Don’t overlook the age and freshness of your chia seeds. Yes, they can go stale! Over time, chia seeds lose their oil content and gelling power, especially if stored in a warm, humid place. Fresh seeds should be shiny, not dull, and smell neutral. If your seeds are old (more than 6 months past their harvest date), they might not absorb liquid effectively. Test this: soak 1 tablespoon of seeds in ¼ cup of water. If after 30 minutes they haven’t formed a solid gel, toss them. I once bought a bulk bag that sat in my pantry for a year—the pudding was a sad, watery mess. Store chia seeds in an airtight container in the refrigerator to extend their life by up to 2 years. For the best results, buy from a store with high turnover, like a health-food store.
 How to Make Chia Seed Pudding - My Chef’s Apron
Finally, if you’ve tried everything and your pudding still won’t thicken, consider temperature shock and salt content. If you pour hot milk directly onto cold seeds (or vice versa), the gel network can break. Always temper ingredients by letting them come to a similar temperature before mixing. Also, salt is a gel inhibitor—if your milk or added flavorings (like soy sauce in savory puddings) have high salt, it can prevent thickening. A pinch of salt is fine, but more than a ¼ teaspoon per cup of liquid can cause issues. Creative fix: salvage a thin pudding by cooking it gently on the stove over low heat for 5 minutes, stirring constantly. This mimics the stovetop method used for chia porridge, forcing the seeds to release their gel. Let it cool, and you’ll have a firm pudding—though with a slightly different texture. Remember, cooking chia seeds is a valid technique for lazy cooks!
Armed with these insights, you’re now a chia pudding detective. The next time your batch looks like soup, check your ratio, give it time, and whisk like a pro. Experiment with different liquids, add a thickener, and always use fresh seeds. The beauty of chia pudding is that even mistakes are edible—just call it “smoothie bowl base” and enjoy. So go forth, measure with confidence, and let the seeds work their gelling magic. Your breakfast (or dessert) is about to get a whole lot thicker—and tastier.
