How To Use A Dry Herb Tank

So, there I was, standing in the vape shop, staring at this sleek, shiny tank that looked like it belonged in a sci-fi movie. The guy behind the counter, let's call him Vape V...
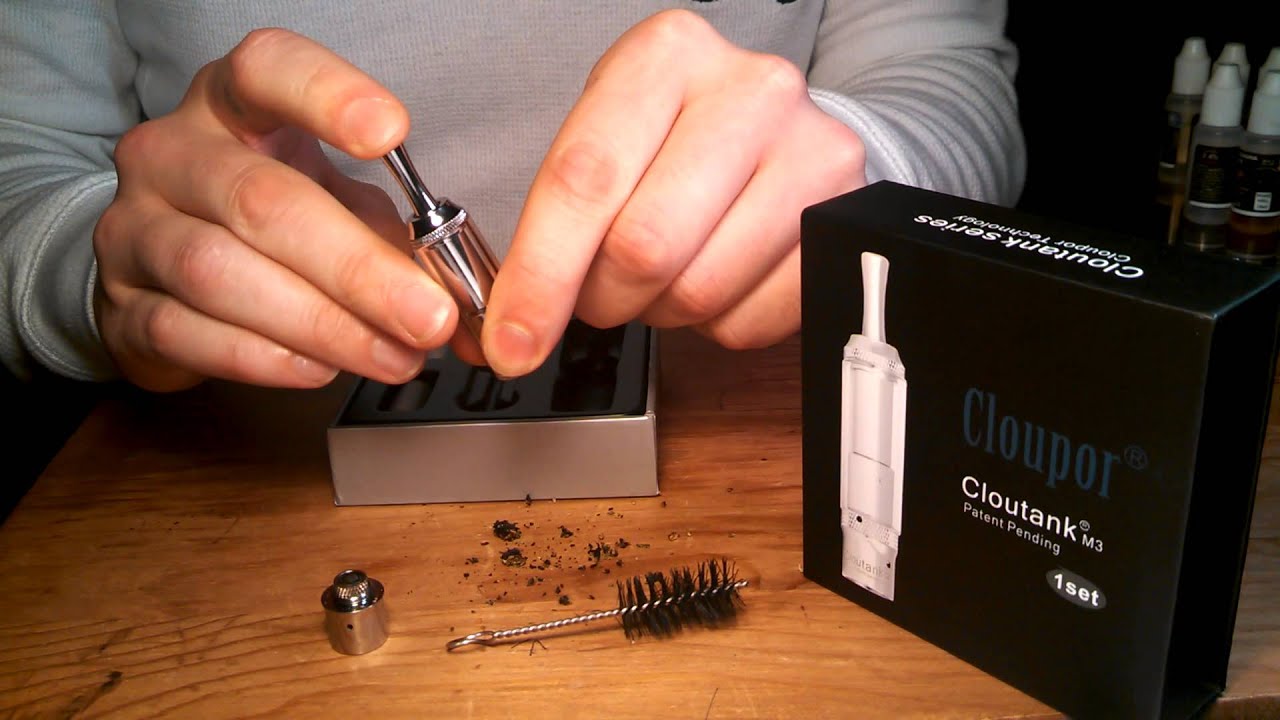
So, there I was, standing in the vape shop, staring at this sleek, shiny tank that looked like it belonged in a sci-fi movie. The guy behind the counter, let's call him Vape Viking, sees me eyeing it and grins, "First time with a dry herb tank, huh?" I nodded, feeling like a kid in a candy store. That's when I realized, I needed a crash course in dry herb vaping. And here we are, my friend, let's dive in!
First Things First: What's a Dry Herb Tank?
Alright, let's start with the basics. A dry herb tank, also known as a herb atomizer, is a vape tank designed to vaporize dry herbs, not e-liquids. It's like a tiny oven that heats up your herbs to the point where they release their delicious, aromatic vapor. No combustion, just smooth, tasty hits.
Choosing Your Tank: A Quick Guide
Before we get into the nitty-gritty of using one, let's talk about choosing the right tank. There are a few types out there, but the two main ones are conduction and convection. Conduction tanks heat your herbs directly, like a pan on a stove. Convection tanks heat your herbs indirectly, using hot air, like an oven. Both have their pros and cons, so it's up to you to decide which one floats your boat.
Must Read
And hey, don't forget to check the tank's compatibility with your mod. You don't want to end up with a fancy new tank and a mod that can't handle it. Trust me, I've been there, and it's not a fun place to be.
Preparing Your Herbs: The Art of Grinding
Now, let's talk about your herbs. The key to a good vape is a good grind. You want your herbs to be finely ground, but not powdered. Think of it like coffee beans - too coarse, and you won't get much flavor; too fine, and you'll clog your tank. I like to use a herb grinder, but you can also use a mortar and pestle if you're feeling old-school.
Once you've got your herbs ground, it's time to pack your tank. Most tanks come with a packing tool, which is basically a tiny poker. You want to pack your herbs loosely, not too tight. Think of it like packing a bowl - you want air to flow through, but you don't want your herbs to be too loose either. It's a delicate balance, my friend.
Loading Your Tank: The Packing Technique
Now, let's talk about loading your tank. This is where you'll use that packing tool I mentioned earlier. Start by filling your tank's chamber with your ground herbs. Then, use your packing tool to gently press down on the herbs, but not too hard. You want to pack them just enough to keep them in place, but not so much that you're blocking airflow.
Some tanks have a screen or a mesh at the bottom of the chamber. If yours does, make sure your herbs aren't blocking it. That screen is there to keep your herbs from falling into your mod, and you don't want to clog it up.
Setting Your Temperature: The Goldilocks Zone
Alright, your tank is loaded, and you're ready to vape. But wait! You need to set your temperature first. Most dry herb tanks vape best between 315°C and 440°C (600°F and 825°F). That's the sweet spot, the Goldilocks zone of vaping. Too low, and you won't get much vapor; too high, and you'll burn your herbs.
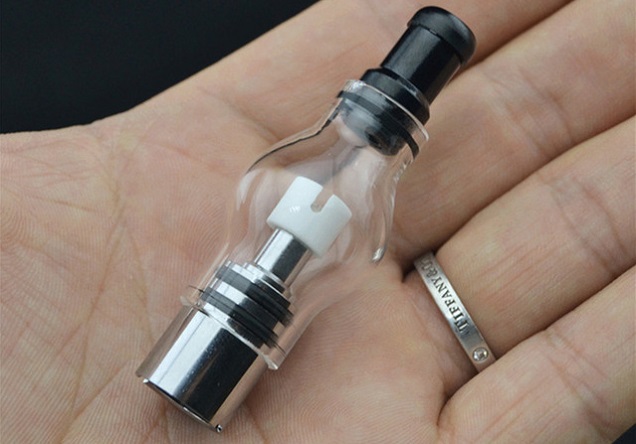 Top 4 Best Dry Herb Atomizers & Tanks in 2024
Start on the lower end of that range and work your way up. Everyone's taste is different, and you'll find your sweet spot eventually. Just remember, it's all about patience and experimentation.
Vaping Your Herbs: The Technique
Now, let's talk about technique. When you take a hit, start with a slow, steady draw. You don't want to inhale too hard, or you'll pull your herbs into your mouth. Trust me, that's not a fun experience.
Once you've got a good draw going, you can increase the airflow if your tank has adjustable airflow. This will give you a bigger hit, but it might also make your herbs vaporize faster. It's all about finding that balance, my friend.
And remember, dry herb tanks take a little longer to heat up than e-liquid tanks. Don't be impatient, give your tank a few seconds to heat up before you take your first hit.
Cleaning Your Tank: The Not-So-Fun Part
Alright, let's talk about the not-so-fun part - cleaning your tank. After a few sessions, your tank is going to get gunked up with herb residue. Don't worry, it's easy to clean, you just need some isopropyl alcohol and some q-tips.
First, disassemble your tank. Most tanks come apart in just a few pieces. Then, soak the pieces in some isopropyl alcohol. Let them soak for a while, then use a q-tip to clean off the residue. Rinse everything off with some hot water, and let it dry completely before you reassemble it.
And there you have it, folks! You're now a dry herb tank pro. Or at least, you will be after a few practice sessions. Remember, vaping is all about experimentation and finding what works best for you. So get out there, try different tanks, different herbs, different temperatures. Have fun, be safe, and happy vaping!
