How To Tell When Grilled Corn Is Done

Welcome, grill master and backyard enthusiast, to the glorious, buttery world of perfectly grilled corn. If you’ve ever wondered why your corn turned out either rock-hard or d...
Welcome, grill master and backyard enthusiast, to the glorious, buttery world of perfectly grilled corn. If you’ve ever wondered why your corn turned out either rock-hard or disappointingly soggy, you are not alone. This humble vegetable is a summer superstar, but it can be a bit of a diva on the grill. The good news is that learning to tell when it’s done isn’t a dark art—it’s a simple, sensory, and utterly rewarding skill. Getting it right means unlocking that sweet, smoky, slightly charred flavor that makes a simple ear of corn taste like a celebration. The purpose of this guide is to arm you with foolproof methods, so you can ditch the guesswork and serve up golden, juicy perfection every single time. The advantage? You’ll become the hero of every cookout, the person who "just knows" when to pull the corn off the fire, leaving your friends impressed and your taste buds singing.
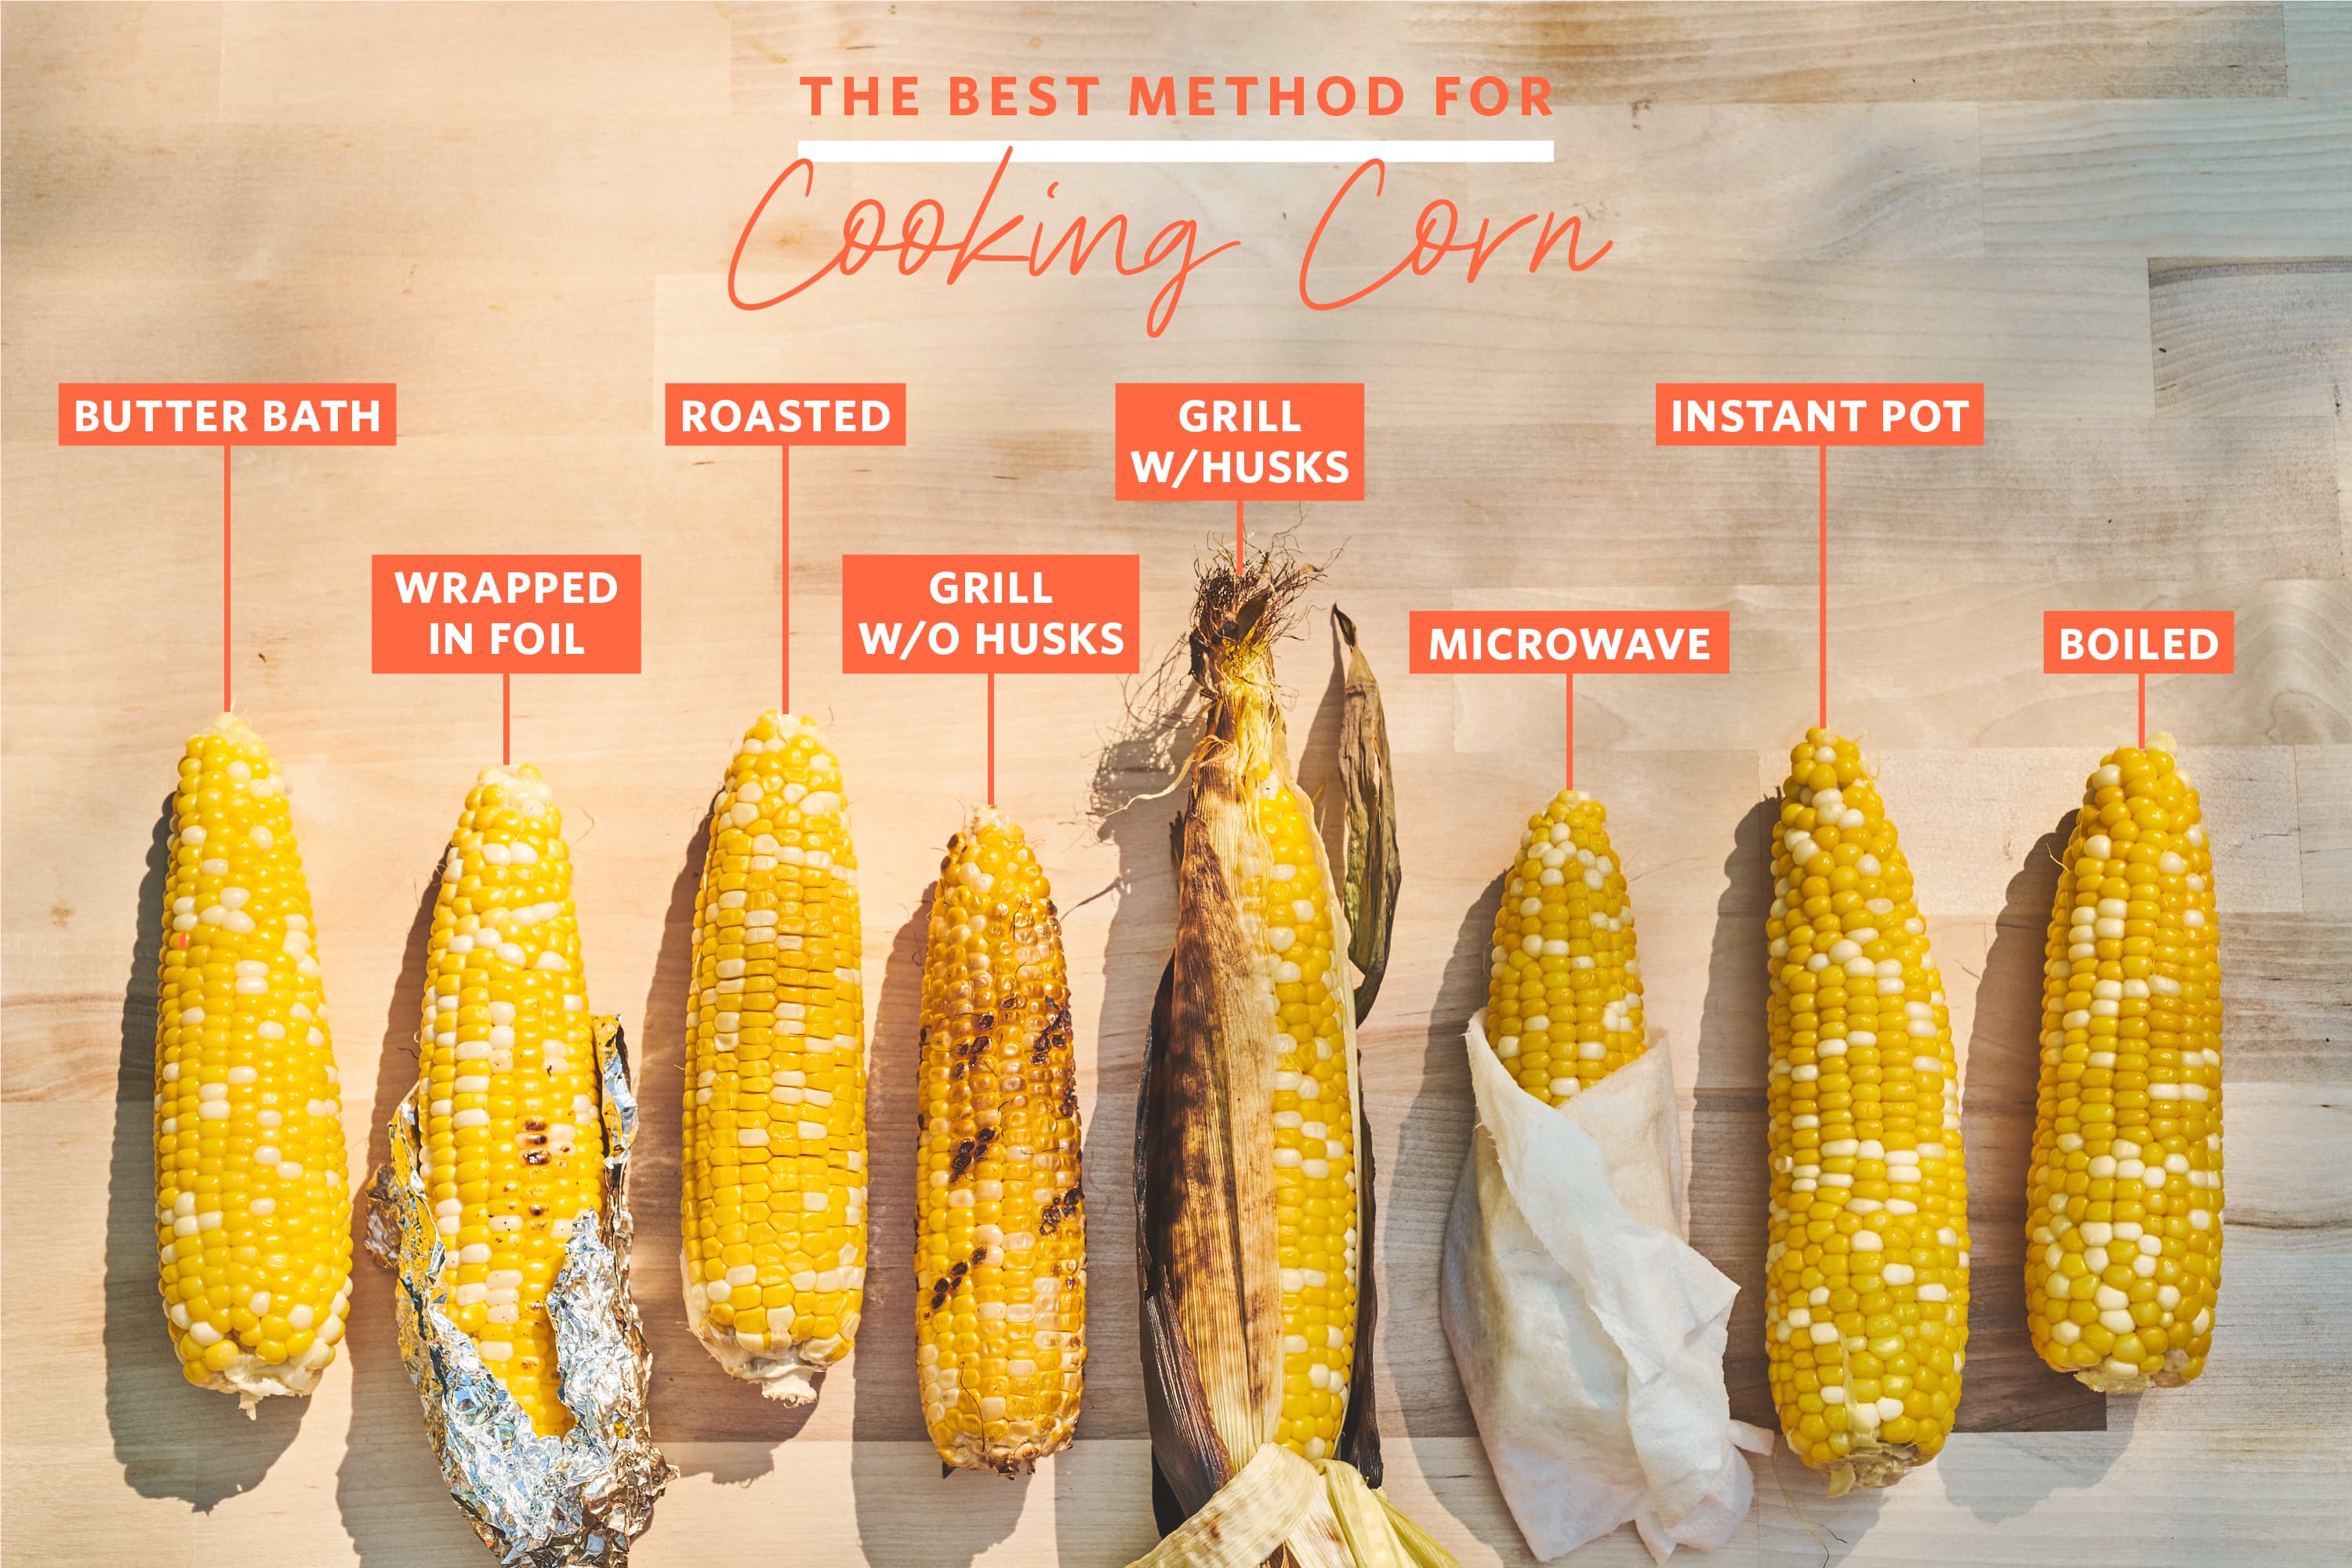
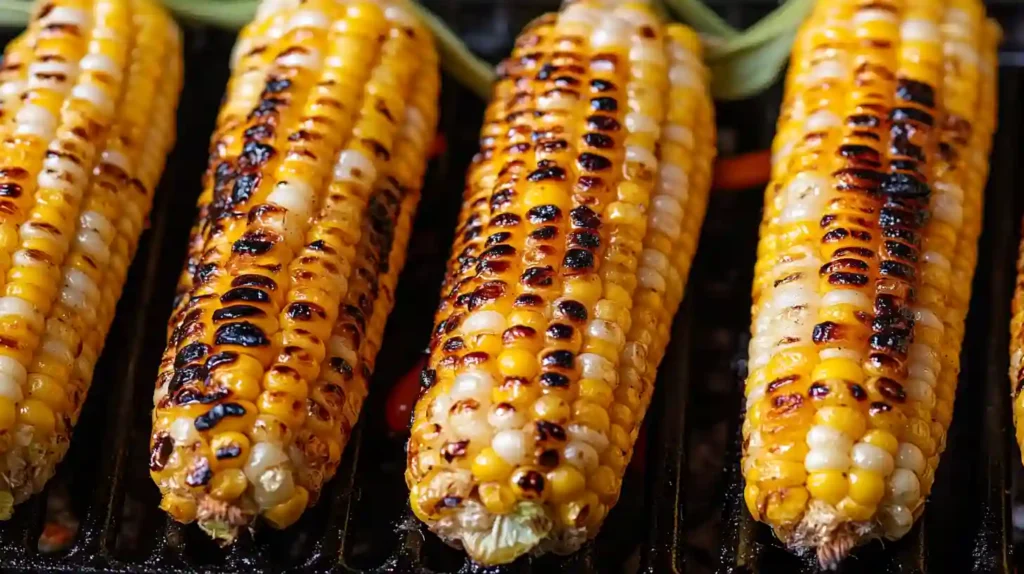
Let’s start with the most obvious tool you have: your eyes. Grilled corn tells a visual story, and you just need to learn how to read it. If you’re grilling it in the husk, look for the outer leaves to become dry, slightly charred, and pulling away from the ear at the top. They’ll turn a toasted brown or even black in spots—that’s good. For husked corn, the kernels will transform from a pale, creamy yellow to a bright, glowing gold. You’re aiming for a deep, even color with scattered, beautiful char marks. Here’s the secret visual cue: watch for the kernels to start plumping up and looking slightly "sweaty." When tiny droplets of milky juice begin to bead on the surface of the kernels, you are officially in the sweet spot. If the kernels look shriveled or start popping with dry, crisp edges, you’ve gone too far. Remember: golden and glossy is the goal; dark brown and wrinkled is a cry for help.
But eyes can deceive. Your sense of touch is a much more reliable tool, and it’s the one pro chefs rely on. The transformation of corn from raw to cooked is a story of texture. A raw ear of corn is firm, almost rigid. You can bend it slightly, but it resists. As it cooks, the internal starches gelatinize and the kernels soften. Here’s your simple test: gently squeeze the ear in the middle (use a towel or oven mitt if it’s hot!). It should yield slightly, like a firm handshake that gives just a little. For a more precise trick, try the "thumb and finger" test. Carefully touch a kernel near the top of the ear. If it feels tender but resilient—like a ripe avocado that’s not quite mushy—it’s done. If it still feels like a rock, give it more time. If it feels soft and deflated, you’ve overcooked it. Trust your fingertips: that subtle give is the voice of perfectly cooked corn, speaking directly to your hand.
Must Read
Now, let’s get creative and talk about time. While time is never a perfect guarantee (because every grill and ear of corn is different), it’s a fantastic starting point. For corn grilled in the husk over medium-high heat, aim for 15 to 20 minutes, turning every 5 minutes. For husked corn, it’s much faster: 8 to 12 minutes, turning often to avoid burning on one side. But don’t just set a timer and walk away! Use time as a rhythm, not a rule. Think of it as a countdown to engagement. At the 10-minute mark for husked corn, do the touch test. At 18 minutes for husk-on, check the leaves. I love the "popcorn" hack: if you hear a few kernels actually popping on the grill (like tiny popcorn explosions), you’re dangerously close to the edge. Back off! And for a fun twist, try the silk test: gently peel back a tiny bit of the husk at the top (if grilling with it on) and look at the silks. They should be dry and dark brown, not wet and pale. That’s a strong visual clue your corn is ready for its close-up.
 Juicy Grilled Corn On The Cob Made Simple
What about the classic dilemma: husk-on vs. husk-off? Each method changes how you check for doneness. Grilling with the husk on is essentially steaming the corn inside its own jacket. It’s forgiving and produces a very tender, moist kernel. For this method, the worst thing you can do is undercook it, because you won’t get that smoky flavor. My advice: let the husk really char. Black edges are fine! The husk acts as a shield. Once the husk is thoroughly charred and the ends feel soft, pull it off. For husk-off (naked) grilling, you’re chasing caramelization and char. This method is all about precision. You’re looking for a quick, hot sear—so the doneness test is more about color and a slight softening. A great pro tip: for husk-off corn, brush it with a little oil, salt, and pepper first. This helps you see the color change more clearly and prevents drying out. And if you like a little showmanship, try grilling it directly on the coals (no grate!) for 5-7 minutes. You’ll know it’s done when the outer husk is completely black and flaky—the ear inside will be perfectly steamed and smoky.
Finally, let’s talk about the great reveal. No matter what the tests tell you, the ultimate proof is in the tasting. But here’s the fun part: you can do a no-peek test to save yourself a burned finger. Use a pair of tongs to lift the corn and give it a gentle shake. If the ear feels loose and a bit wobbly inside the husk, it’s a great sign that the corn has cooked down and released from its husk. Another pro move: listen to the sizzle. When you first put corn on the grill, it hisses and pops loudly. As it nears completion, the sound becomes a softer, steady sizzle. That change in audio is your dinner bell. And if you’re still nervous? Embrace the "test ear" method. Cook one ear, peel it back, take a bite. Is it sweet, tender, and slightly smoky? Perfect. If not, you know exactly what to adjust for the rest. Grilling corn is a journey, not a job. So pull back that husk, admire your work, slather on the butter and chili lime, and enjoy the triumph that is a perfectly grilled ear of corn. You’ve earned it.
