How To Tell If Bacon Is Cooked

Welcome, bacon lover, to the single most important kitchen skill you never knew you needed. Let’s be honest: there are few joys in life that rival the sizzle of a perfect baco...

Welcome, bacon lover, to the single most important kitchen skill you never knew you needed. Let’s be honest: there are few joys in life that rival the sizzle of a perfect bacon strip, but there is nothing sadder than a plate of greasy, undercooked pork that flops like a wet noodle. This article isn’t just about avoiding food poisoning—it’s about unlocking the perfect crispy, chewy, or caramelized slice every single time. Whether you’re a seasoned breakfast pro or a nervous first-timer, mastering the art of “done-ness” will elevate your brunches, BLTs, and even your weekday snacks. The advantage? No more guessing, no more burning, and a whole lot more happy crunching. Let’s turn that fatty slab into a golden masterpiece.
First, let’s bust a crispy myth: Color is your best friend, but not your only clue. Many cooks rely solely on looking for deep brown or golden edges, but bacon is sneaky. A strip can look perfectly bronzed on one side while still being translucent and squishy on the other. The real trick is to watch for that magical shift from pale pink to a rich, warm mahogany. If you see any areas that are still whitish or raw-looking, it’s not done yet. Think of it like a sunrise—the bacon must go from pale dawn to full golden hour. But don’t stop there: texture is the second witness. A perfectly cooked strip will have a slight curve and a firmer feel, not a limp, rubbery handshake.
Now for the fun part—the creative tests you can use to avoid a chewy disaster. One of my favorite hacks is the “Tongs Tap Test.” While the bacon is still in the pan, gently tap a strip with your metal tongs. If it makes a sharp, tinny clink sound (like hitting a miniature sword), you’re in crispy territory. If it makes a dull, muffled thud, it’s still underdone. Another trick is the “Paper Towel Whisper.” Lift a piece of bacon with your tongs and let a single drip of fat fall onto a paper towel. If the fat pools into a clear, liquid bead, your bacon is likely ready. If it soaks in instantly and leaves a greasy shadow, it needs more time. For the brave, there’s the “Bend and Snap” method: carefully pick up a strip with a fork. If it bends slightly and then cracks rather than folding entirely, you’ve hit the sweet spot. Remember: you’re not just cooking food; you’re engineering a salty, crispy experience.
Must Read
But what about different styles? Not everyone wants a crunchy shard. If you’re aiming for chewy, diner-style bacon, you want it cooked through but still pliable. Look for a consistent light brown color with no pink remaining, but don’t wait for it to darken into amber. The fat should be rendered but still soft, almost like a tender ribbon. On the flip side, if you crave candle-shatter crispiness, you need to push past the point of merely “done.” Let the bacon cook until it visibly curls and the edges start to darken into a deep reddish-brown, almost like burnt caramel. Watch closely, because the line between perfect crispy and charcoal is about thirty seconds wide. Pro tip: if you see little bubbles forming on the surface of the fat, that’s the last warning before it turns to cinders.
Here’s a practical tip that will save you from a rubber-bath: always remove the bacon from the heat just a fraction earlier than you think you should. Why? Because of carryover cooking. The residual heat in the pan and the fat will continue to cook the bacon for another 30–45 seconds after you transfer it to a paper towel. If you pull it out when it looks perfect, it will actually become overdone by the time you sit down. So, aim for a shade that is one level lighter than your ideal. For example, if you want medium-crisp, pull it when it’s just starting to turn from golden to light bronze. This little delay is the secret of every short-order cook who nails the order every morning.
 The Ultimate Guide to Perfectly Soft Bacon: Tips and Techniques for
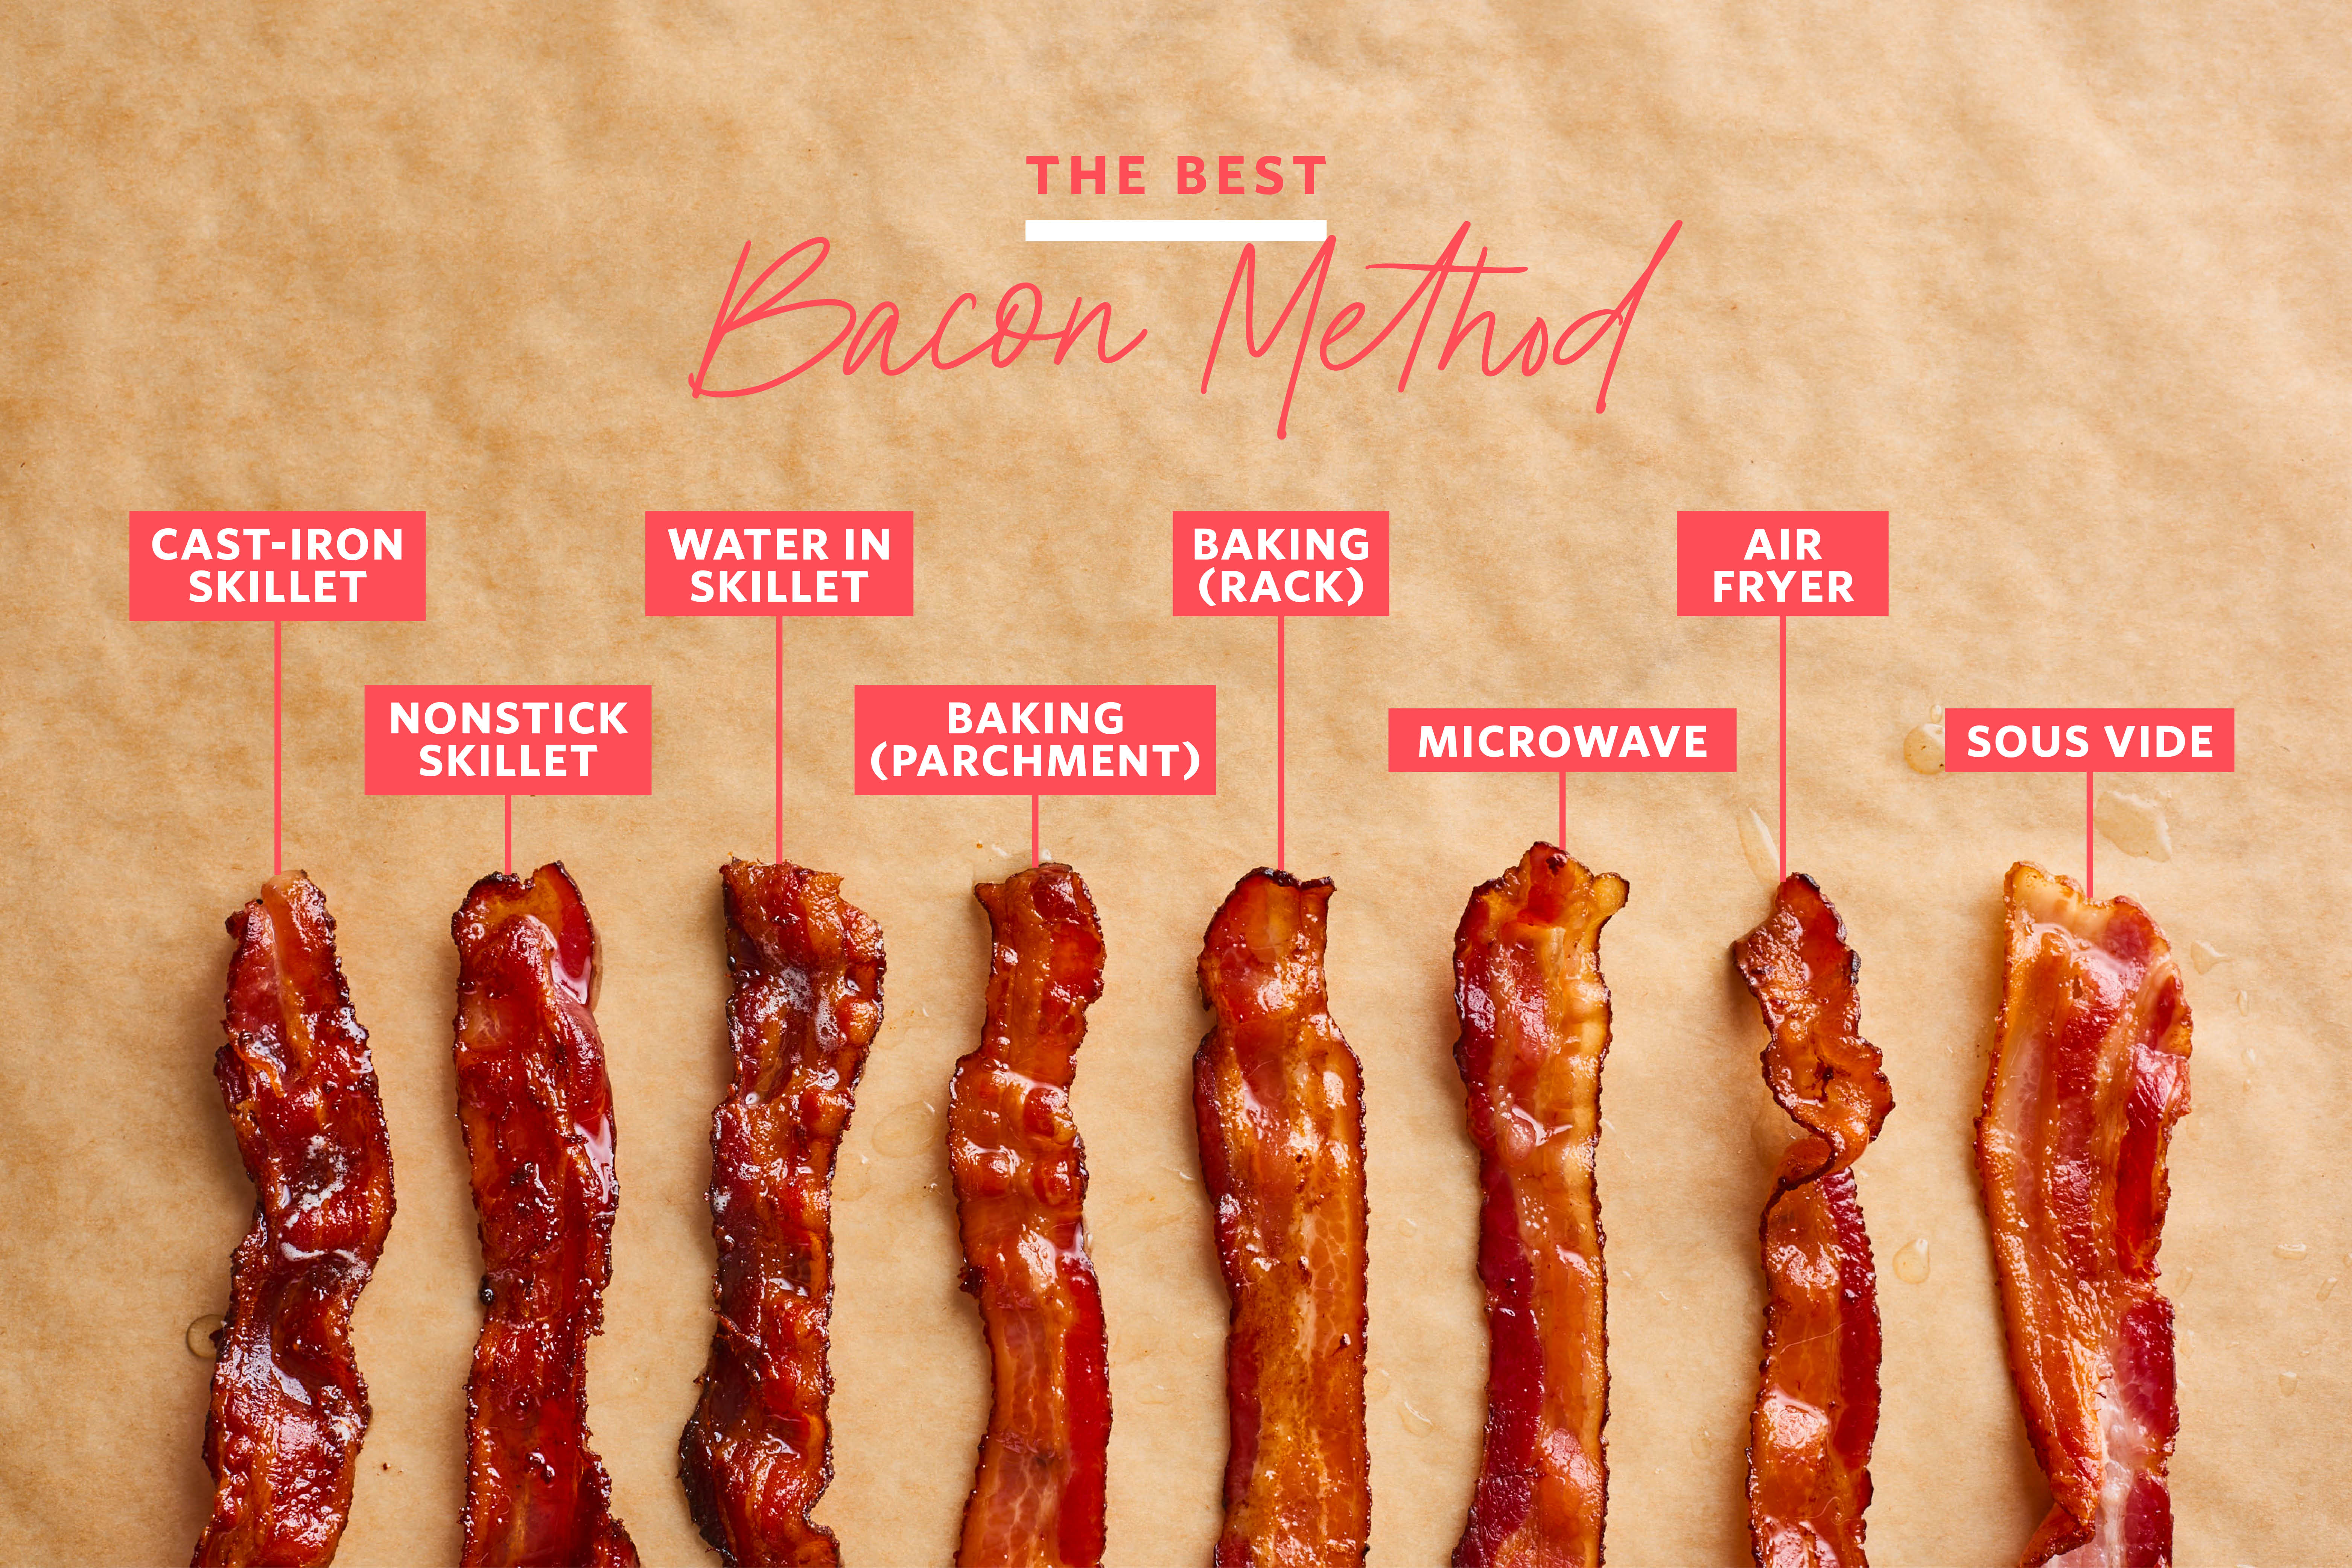
Let’s talk about oven-baked bacon, because it’s a game-changer. When you cook bacon in the oven at 400°F, the visual cues shift slightly. The bacon will cook more evenly, so you don’t have to flip it. Look for the fat to become translucent and shrunken, with the meat turning a uniform mahogany. A fantastic trick: lay the strips on a wire rack over a baking sheet. This lets the fat drip away, giving you a more reliable sizzle and a direct view of both sides. After 10–12 minutes, start checking every minute. The bacon will shrink and crisp from the edges inward. If the edges are dark but the center is still pale, give it two more minutes. The true test? Lift a piece with your fingers (carefully!)—if it holds its shape without drooping, you’re done. If it bends like a sad noodle, back in it goes.
Finally, let’s address the ultimate no-fail sign that works for pan, oven, or even microwave: the sound and smell shift. Listen carefully. When bacon first hits the heat, it sizzles aggressively—that’s water and fat escaping. As it nears done-ness, the sizzle becomes quieter and more rhythmic, like a gentle rain instead of a storm. At the same time, the aroma changes from just “greasy” to a deep, toasted, almost nutty fragrance. That smoky-sweet smell is your nose telling you: “It’s ready, human.” Trust your ears and nose as much as your eyes. And if you ever doubt yourself? Cut a small end piece off and taste it. There is no shame in a tester strip—that’s called quality control. So go forth, embrace the sizzle, and remember: perfectly cooked bacon isn’t a mystery. It’s just a conversation between your senses and a very forgiving strip of pork. Happy frying!
