How To Make Whipped Cream From Milk

Welcome to the wonderfully weird world of DIY dairy, where we’re about to turn a humble carton of milk into a cloud of luxurious, billowy whipped cream. You might be asking, “...
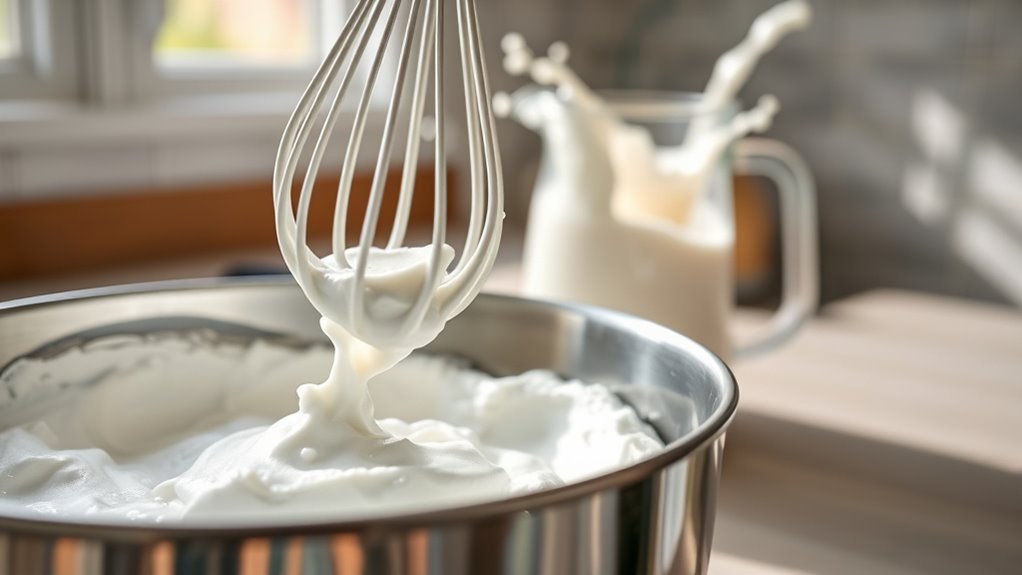
Welcome to the wonderfully weird world of DIY dairy, where we’re about to turn a humble carton of milk into a cloud of luxurious, billowy whipped cream. You might be asking, “Why bother buying a carton of heavy cream when I can just… make it?” The answer is simple: control, creativity, and a dash of kitchen wizardry. This trick is a lifesaver when you’re halfway through a dessert and realize you’re out of store-bought cream, or when you want to avoid the stabilizers and additives found in commercial versions. The advantages are huge: you get a fresher, purer taste, you can customize the sweetness and flavor, and you earn serious bragging rights. Plus, it’s a fantastic science experiment that ends with something deliciously edible.
Let’s get one crucial fact straight: regular milk (the kind you pour on cereal) will not whip into stiff peaks. It’s too low in fat. For this magic to work, you need the fat content of whole milk to be concentrated. The secret weapon? Gelatin. This humble protein acts as a stabilizer and thickener, mimicking the high-fat structure of heavy cream. Here’s the base recipe: bloom 1 teaspoon of unflavored gelatin in 2 tablespoons of cold water for 5 minutes. Then, gently heat it until it dissolves completely. In a separate bowl, combine 1 cup of cold whole milk with 2 tablespoons of powdered sugar and a splash of vanilla. Slowly whisk in the warm gelatin mixture. Now, the game-changer: chill this mixture for at least an hour, until it’s very cold but not solid. Once it’s icy, whip it with a hand mixer or stand mixer on high speed. Within 2–4 minutes, you’ll watch it transform into a thick, glossy, spoonable cream. It’s a genuine kitchen miracle.
But wait—there’s another, even easier method that uses evaporated milk. This is your lazy-day hero. A can of evaporated milk is basically milk with about 60% of its water removed, concentrating the fat and protein. The trick? Freeze the can for at least 4 hours (or overnight) until it’s icy cold. Then, open it, pour the slushy liquid into a chilled bowl, add sugar and vanilla, and whip. Because the water is frozen into tiny crystals, the remaining fat and proteins can whip up into a surprisingly stable foam. It won’t be as rich as heavy cream, but it’s perfect for topping coffee, hot chocolate, or a quick strawberry shortcake. Don’t use low-fat evaporated milk—it needs the full-fat version to work. Pro tip: add a pinch of salt to enhance the sweetness and stabilize the foam even further.
Must Read
Now, let’s talk creative flavor adventures. Once you master the base, the world is your oyster—or your peppermint mocha. Try infusing your milk with vanilla beans (split and scrape the seeds into the milk before chilling), or add a tablespoon of cocoa powder for chocolate whipped cream. Feeling bold? Swap the vanilla for rose water or orange blossom water for a floral, Middle Eastern twist. You can also go savory: omit the sugar, add a pinch of salt, fresh herbs like chopped mint, and a tiny bit of lemon zest to top a fruit salad or grilled peaches. For a salted caramel version, replace the sugar with brown sugar and add a teaspoon of flaky sea salt. The gelatin-based or evaporated milk methods both handle flavor additions beautifully—just avoid adding acidic ingredients (like lemon juice) until after whipping, as they can destabilize the structure.
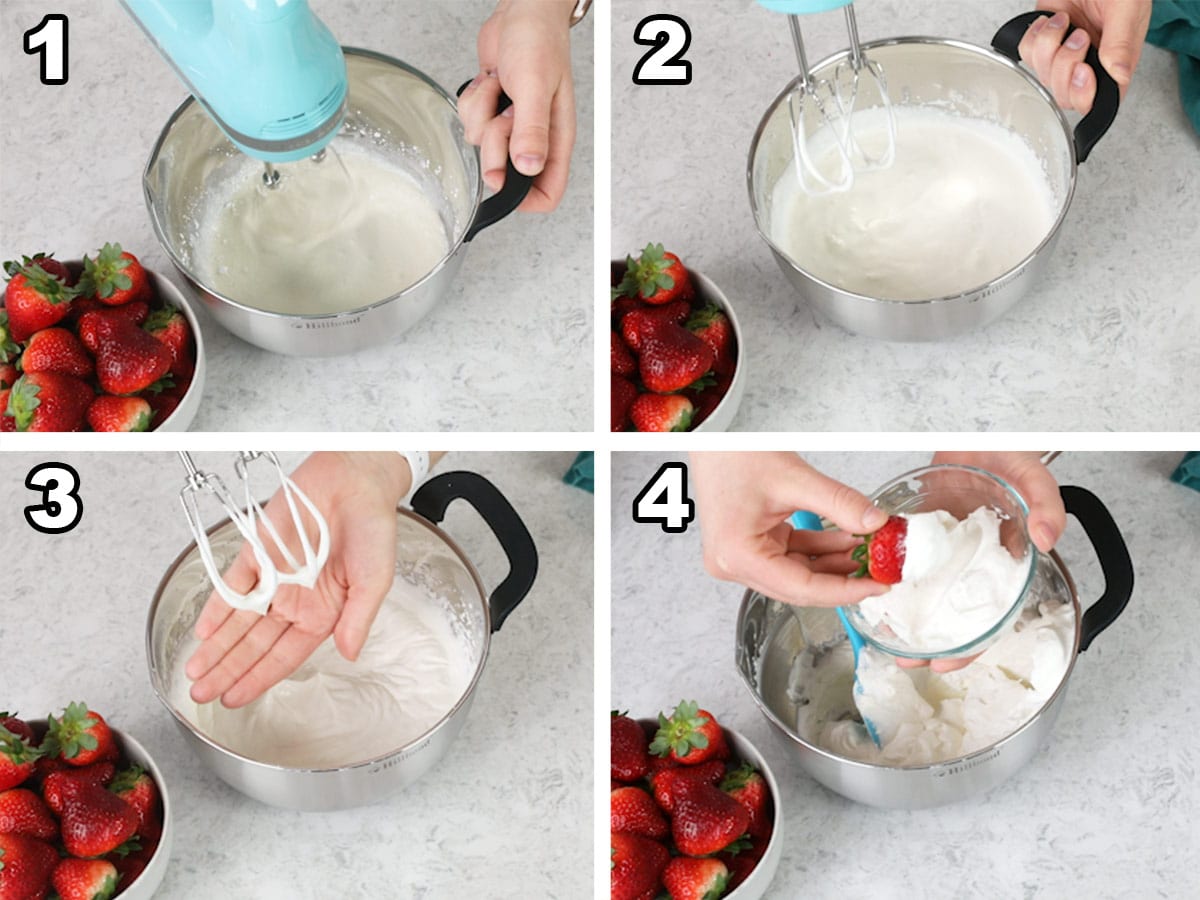
Need practical advice? Here’s the gold. Equipment matters. Chill your bowl and beaters in the freezer for 10 minutes before whipping. Cold is your friend—it helps the fat globules cling together. Don’t overwhip, or you’ll end up with butter (which, while tasty, is not whipped cream). Stop when you see soft peaks that hold their shape but flop over slightly. If you’re using the gelatin method, remember that it will set more firmly as it chills in the fridge. That’s actually a bonus—you can pipe it onto cakes or pies and it will hold its shape for hours. For the evaporated milk method, serve it immediately; it deflates faster. And if your cream suddenly looks grainy or curdles? You probably added the gelatin too hot, or the milk wasn’t cold enough. Don’t panic—add a tablespoon of cold milk and whip again lightly; sometimes you can rescue it.
 Whip Cream Container
Let’s dream up some real-world uses. This homemade cream is a star on a slice of pumpkin pie (especially with a dash of cinnamon and nutmeg whipped in). It’s heavenly dolloped over a bowl of fresh berries or a warm brownie. One of my favorite hacks: make a lighter “whipped cream” frosting for a sheet cake. Because the gelatin provides structure, you can actually pipe it into rosettes on a cupcake—something regular milk can never do. Use it to top a bowl of chai-spiced oatmeal or a glass of affogato (espresso poured over vanilla ice cream). You can even fold it into homemade mousse for a lighter texture. The best part? You control the sweetness. If your diet restricts sugar, use a low-glycemic sweetener like monk fruit or stevia (but check the package for whip-compatibility).
Finally, a few pitfalls to sidestep. Don’t use ultra-pasteurized milk if you can help it—it has proteins that are already partially denatured, making it harder to whip. Stick with regular, high-quality whole milk. If you’re using the gelatin method, never boil the gelatin mixture; just warm it until dissolved. Boiling ruins its thickening power. And patience is a virtue: the chilling steps are non-negotiable. Rushing leads to soup. That said, if you need a last-minute fix, you can cheat by whipping cold milk with a tablespoon of cream cheese (softened) for structure, though the taste will be tangier. Remember: this is supposed to be fun! The first batch might not be perfect, but the second will be glorious. You are now armed with the ability to conjure cream from thin air—well, from a cardboard carton. Go forth and whip. Your desserts will thank you.

