How To Make Vapor Rub Shower Melts

Ever found yourself craving a spa day but lacking the time or budget? Well, let me spill the beans on a delightful DIY project that'll transform your shower into a mini oasis:...
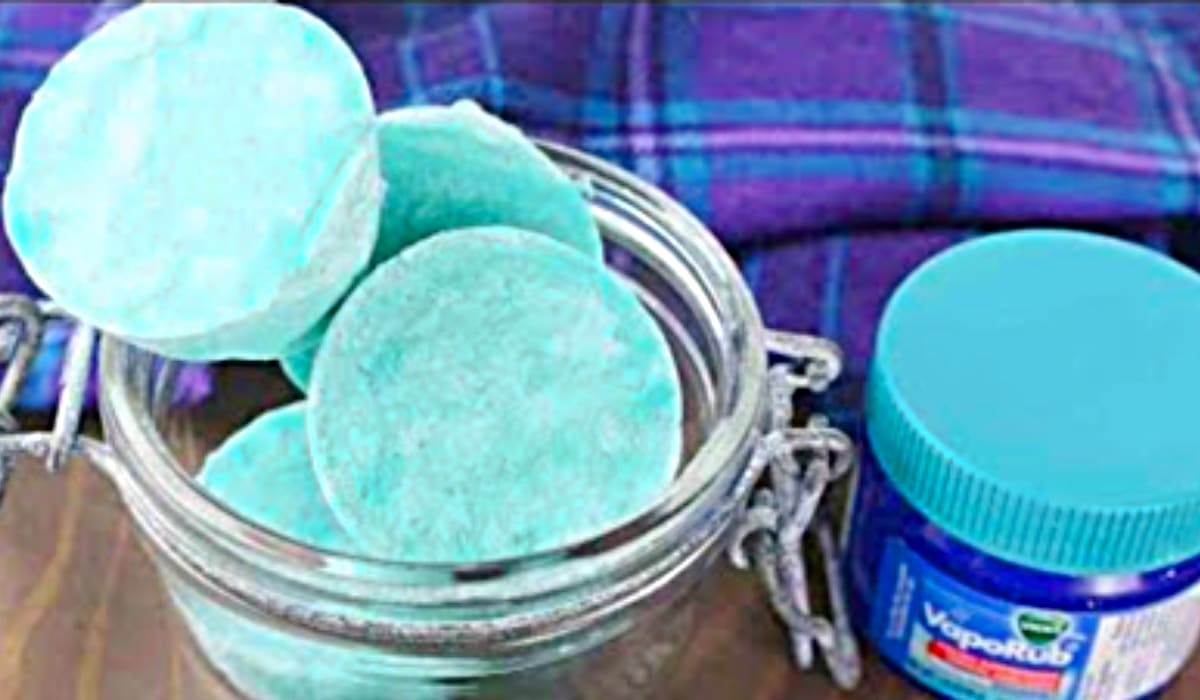
Ever found yourself craving a spa day but lacking the time or budget? Well, let me spill the beans on a delightful DIY project that'll transform your shower into a mini oasis: Vapor Rub Shower Melts. Yes, you heard it right. We're talking about those magical little discs that'll fill your bathroom with a soothing aroma and leave your skin feeling as soft as a baby's bottom.
What's the Scoop on Shower Melts?
Shower melts are essentially solidified bath bombs for your shower. They're packed with essential oils, butters, and other skin-loving ingredients that release as they melt. Think of them as the cool cousin of bath bombs, designed for those of us who prefer showers to baths. They're also a fantastic way to make your bathroom feel like a luxurious spa, without breaking the bank.
Let's Get Started!
Before we dive into the recipe, let's talk molds. You can use silicone molds designed for soap or chocolate, or even an ice cube tray. The world's your oyster! Now, let's gather our ingredients:
Must Read
- 1 cup baking soda - The base of our shower melts. It's also a gentle exfoliant and helps draw out impurities.
- 1/2 cup citric acid - This gives our melts their fizz and helps them dissolve in the shower.
- 1/2 cup Epsom salt - A magnesium-rich mineral that'll soothe your muscles and leave your skin feeling silky smooth.
- 1/4 cup cornstarch - Helps bind our ingredients together and gives our melts a smooth texture.
- 1/4 cup melted coconut oil - A nourishing ingredient that'll moisturize your skin and help harden our melts.
- 1-2 tablespoons water - Just enough to help everything stick together.
- 10-15 drops essential oil - Your choice of scent. Peppermint, eucalyptus, and lavender are popular choices, but feel free to get creative!
Once you've gathered your ingredients, it's time to mix them up. In a large bowl, combine the dry ingredients (baking soda, citric acid, Epsom salt, and cornstarch). In a separate bowl, mix together the wet ingredients (melted coconut oil and water). Slowly add the wet ingredients to the dry, stirring until you have a consistency similar to damp sand.
Now, here's where the magic happens. Add your essential oil, stirring until it's evenly distributed. Take a whiff - isn't that divine? Now, spoon your mixture into your molds, pressing down firmly to ensure they're well-packed. If you're using an ice cube tray, you might want to tap it on the counter to remove any air bubbles.
Patience, Grasshopper
Alright, so you've packed your molds. Now comes the waiting game. Pop them in the freezer for a couple of hours, or overnight if you can wait that long. Once they're solid, gently pop them out of the molds and let them sit out for a few hours to allow any excess moisture to evaporate.
 Congestion got you down? These DIY Vapor Rub Shower Melts will offer
And there you have it! Your very own Vapor Rub Shower Melts, ready to transform your shower into a personal oasis. To use, simply place one in the shower, turn on the water, and let the magic happen. The heat and steam will melt the disc, filling your bathroom with a lovely aroma and leaving your skin feeling pampered.
Fun Fact: The Original Vicks VapoRub
Speaking of Vicks, did you know the original Vicks VapoRub was created in 1894 by a pharmacist named Lunsford Richardson? He was trying to create a remedy for coughs and colds, and ended up with a topical ointment that's still going strong over a century later. Who would've thought that a little menthol and camphor could be so soothing?
Reflection: The Joy of Self-Care
In our fast-paced, always-connected world, it's easy to forget to take care of ourselves. But self-care isn't selfish - it's necessary. Whether it's a quick shower or a luxurious bath, taking time for ourselves can make a world of difference. So go ahead, treat yourself to a Vapor Rub Shower Melt. You deserve it.
And there you have it, folks! A DIY project that's as fun as it is rewarding. So go forth, create, and enjoy your spa-like showers. Until next time, stay fabulous!
