How To Make My Own Vape Juice

So, there I was, puffing away on my vape, when I got to thinking, "Why am I shelling out cash for these juice bottles when I could be making my own?" And thus, my DIY vape jui...

So, there I was, puffing away on my vape, when I got to thinking, "Why am I shelling out cash for these juice bottles when I could be making my own?" And thus, my DIY vape juice adventure began. If you're here, you're probably asking yourself the same question. Well, buckle up, my friend, 'cause we're about to dive into the wonderful world of homemade vape juice.
Why DIY?
First things first, why should you even bother making your own vape juice? Well, aside from the obvious money-saving aspect, it's all about customization. You get to play mad scientist and create your own unique flavors. Plus, it's kinda fun to impress your vaping buddies with your homemade concoctions. But hey, if you're happy with your store-bought juices, more power to you. This is just a fun little side project.
Safety First
Before we dive into the nitty-gritty, let's talk safety. Making vape juice involves handling some potentially hazardous materials. We're talking about nicotine, folks. It's not a party trick, so always wear gloves, work in a well-ventilated area, and keep your concoctions out of reach of kids and pets. And remember, start low, go slow with nicotine concentration. You don't wanna end up like the guy who tried to make his own moonshine and blew up his kitchen.
Must Read
Gather Your Ingredients
Alright, now that we've got the safety spiel out of the way, let's talk ingredients. You'll need three main components: vegetable glycerin (VG), propylene glycol (PG), and flavorings. Oh, and nicotine, if you're into that sort of thing. You can find these online or in vape shops. Pro tip: always buy from reputable sources. You don't want to be vaping mystery chemicals.
VG and PG are the base of your juice. VG gives you those big, thick clouds, while PG provides throat hit and carries flavor better. The general rule is to start with a 50/50 mix of VG and PG, then adjust to taste. But hey, rules are meant to be broken. If you're feeling adventurous, you can try different ratios or even add in some super sweetener for an extra kick.
Flavor Country
Now, the fun part: flavorings. These come in a variety of forms, from concentrates to ready-to-use liquids. You can find them in vape shops or online. The key is to start with a small amount and build up. It's easier to add more flavor than it is to rescue a batch that's too strong.
Here's a little trick: start with a test batch. Mix up a small amount of your base (VG, PG, and nicotine) and add a few drops of flavoring. Let it steep for a day or two, then give it a taste. If you like it, great! If not, adjust and try again. It's like cooking, but with way less chance of burning your dinner.
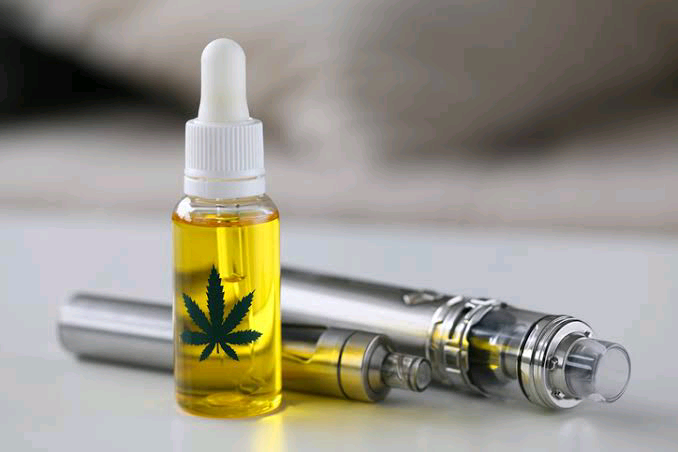 How to Make Your Own Vape Juice: A Comprehensive Guide | UPENDS
Steeping: The Waiting Game
Speaking of steeping, it's an important part of the DIY process. Steeping is just a fancy word for letting your juice sit in a dark place for a while. This gives the flavors time to meld together and mellow out. The general rule is to steep for at least a couple of days, but some flavors can take weeks. Patience, grasshopper.
If you're really impatient (like me), you can speed up the process with a little heat. Just make sure not to overheat your juice. We're not trying to cook it, just help it along a bit.
Bottling and Labeling
Finally, once your juice is steeped to perfection, it's time to bottle it up. Use clean, empty vape bottles (you can recycle the ones you've used up). And don't forget to label them! Trust me, you don't want to end up with a mystery juice that tastes like... well, who knows what.
And there you have it, folks! Your very own homemade vape juice. It's not as scary as it sounds, is it? So go forth, experiment, and happy vaping!
