How To Make A Vape Stand

Ever found yourself juggling your vape, phone, and keys at the end of a long day? It's like trying to tame a trio of slippery eels, isn't it? Well, say goodbye to the vape jug...
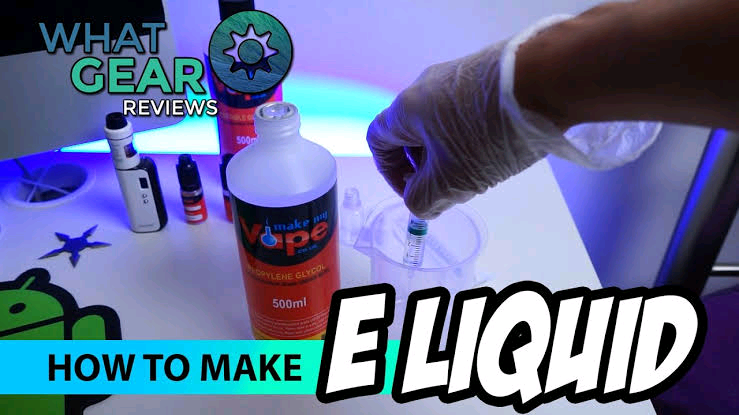
Ever found yourself juggling your vape, phone, and keys at the end of a long day? It's like trying to tame a trio of slippery eels, isn't it? Well, say goodbye to the vape juggle and hello to a nifty little DIY project that's as easy as pie. We're talking about a vape stand, folks. Yes, you heard it right. It's not just for the tech-savvy, it's for anyone who's ever wished their vape had a cozy little home.
Gather Your Troops
First things first, you'll need to rally your troops. Don't worry, we're not talking about an army here. A simple trip to your local craft store or a rummage through your junk drawer will do the trick. Here's what you'll need:
- Wooden coasters (the thicker, the better)
- Wood glue
- Clamps
- Sandpaper
- Stain or paint (optional, for the artsy types)
- Varnish (also optional, but it'll give your stand a nice, shiny finish)
- And, of course, your vape
Design: The Sky's the Limit
Now, before you start slicing and dicing, let's talk design. The beauty of this project is that it's yours for the making. Want a simple, sleek stand? Go for it. Feeling like a bit of a Picasso? Knock yourself out. Just remember, the thicker your coasters, the sturdier your stand. We're aiming for a vape stand, not a vape lean-to.
Must Read
For a classic look, you could go for a simple, tall stand. Think of it like a tiny, wooden skyscraper for your vape. Or, if you're feeling a bit more playful, you could create a tiered stand. It's like a tiny, vape- friendly terrarium. The possibilities are as endless as your imagination (and your supply of coasters).
Let's Get Crafty
Alright, so you've got your design in mind, your materials at the ready. It's time to get this party started. First things first, measure your vape. You want your stand to be snug, but not so tight that it's a vape hostage situation. Once you've got your measurements, it's time to start gluing.
Apply a generous amount of glue to the edges of your coasters. Remember, we're not making a vape sandwich here, so don't be stingy with the glue. Then, clamp them together, making sure they're aligned with your measurements. Leave them to dry for at least 24 hours. Patience, grasshopper. Good things come to those who wait.
Once your stand is dry, it's time to sand it down. This isn't a punishment, it's just to smooth out any rough edges. If you're feeling fancy, you can stain or paint your stand now. But remember, less is more. We want your vape to be the star of the show, not your stand.
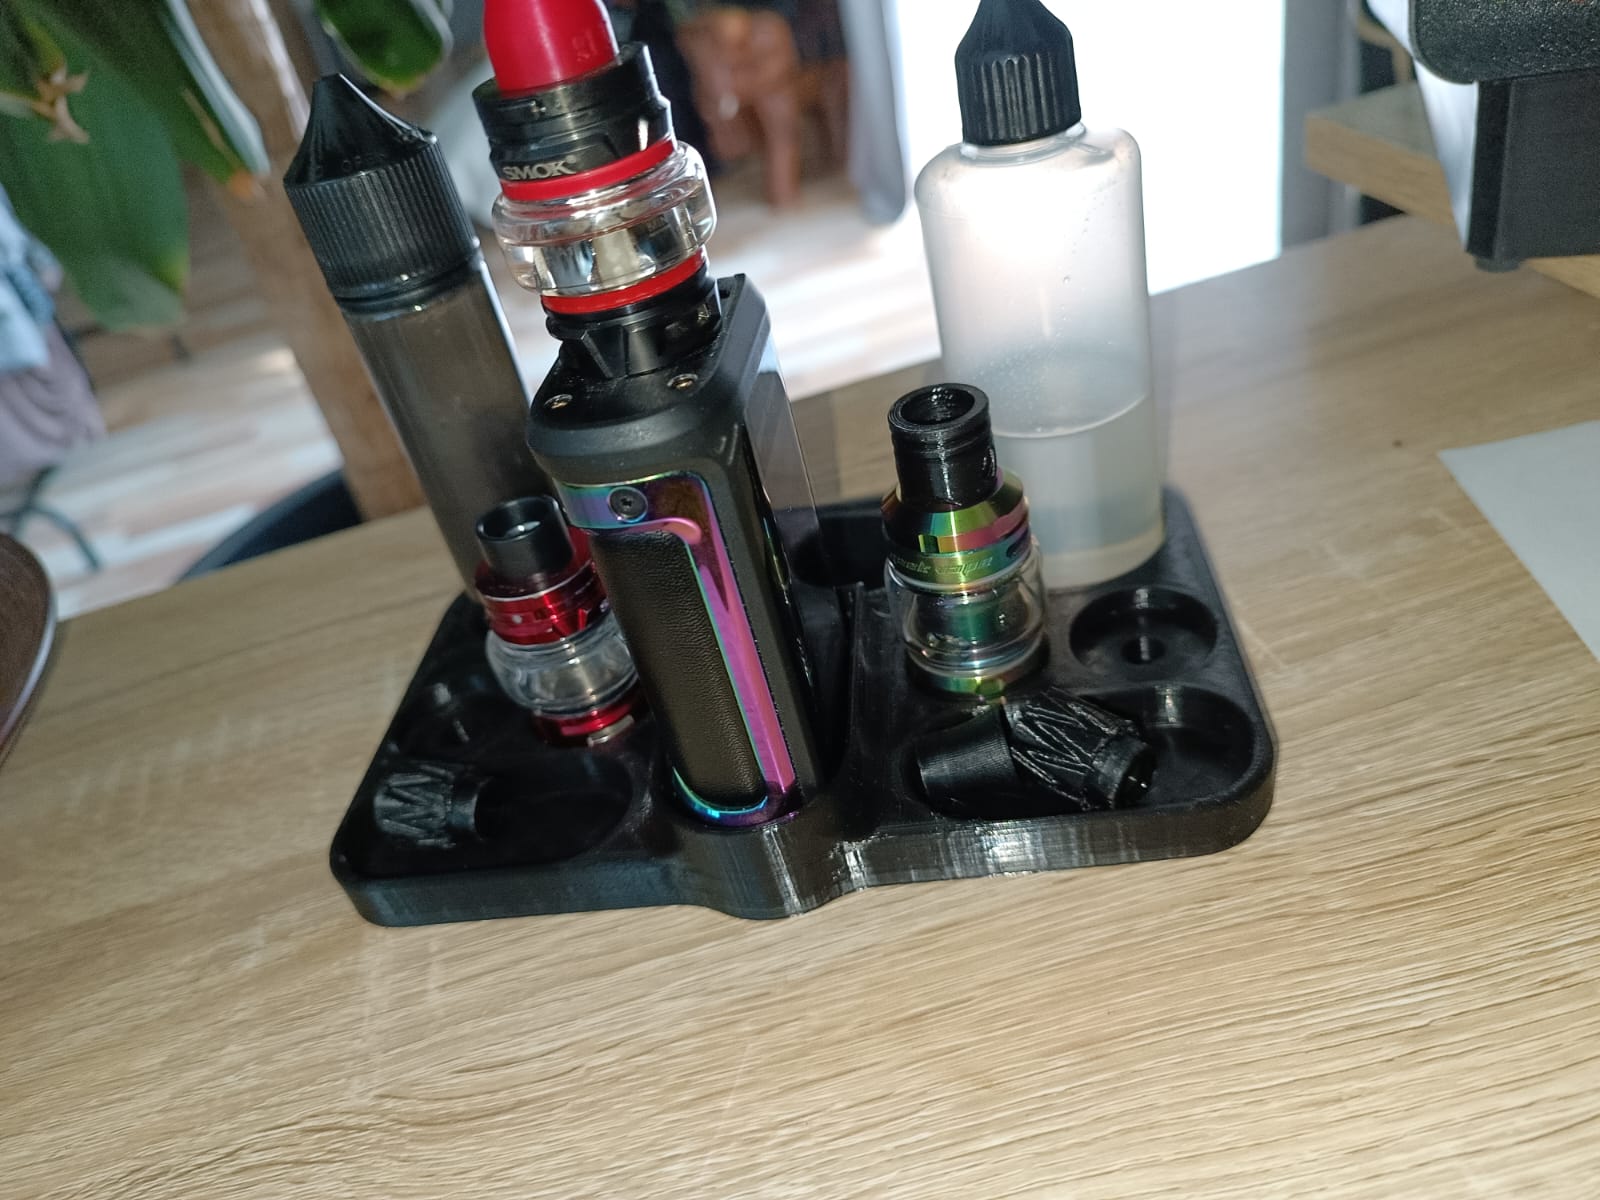 STL file Geek Vape Stand 🤓 ・Template to download and 3D print・Cults
Finally, once your stand is looking spiffy and smooth, give it a coat of varnish. This'll protect it from any rogue vape juice spills. And there you have it. Your very own, handcrafted vape stand.
Vape in Style
So, why bother with a vape stand, you ask? Well, apart from the obvious (no more vape juggling), it's a great way to add a touch of style to your space. It's like having a tiny, vape-friendly sculpture in your home. Plus, it's a great conversation starter. "Oh, this old thing? I made it myself." See, you're already sounding like a pro.
And the best part? It's a project that anyone can do. No fancy tools required. Just a bit of glue, a bit of patience, and a bit of creativity. It's like a tiny, wooden testament to your DIY prowess. So, go on. Give it a try. Your vape (and your hands) will thank you.
And there you have it. A vape stand, made with love (and a bit of glue). It's not just a stand, it's a symbol. A symbol of your creativity, your style, and your commitment to keeping your vape safe and sound. So, go forth, crafty vapers. The world is your oyster. And your vape is your pearl.
