How To Make A Vape At Home

Ever felt like you're in a scene from Breaking Bad, but instead of cooking meth, you're just trying to make your vape last? Well, you're not alone. Vaping has become a popular...
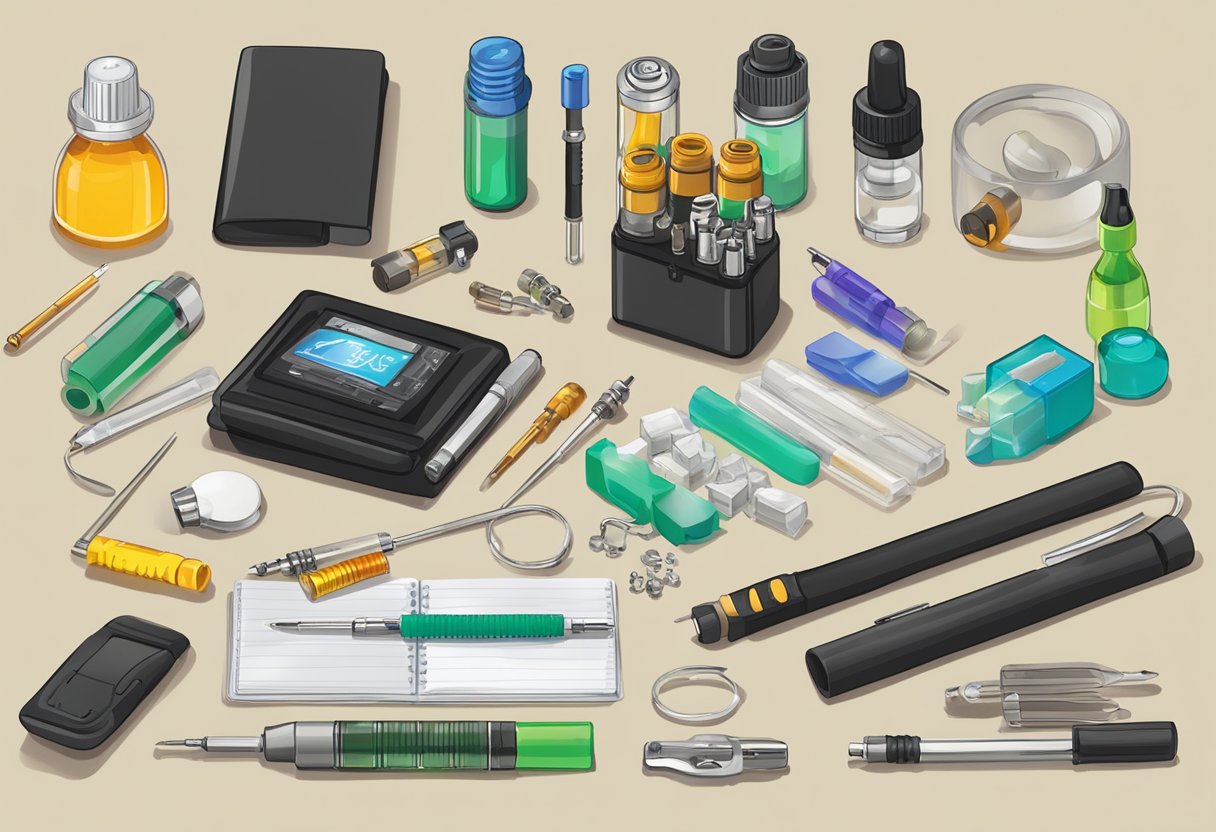
Ever felt like you're in a scene from Breaking Bad, but instead of cooking meth, you're just trying to make your vape last? Well, you're not alone. Vaping has become a popular alternative to smoking, and with it, the desire to DIY has grown. So, let's roll up our sleeves and dive into the world of homemade vapes. No need for hazmat suits or blue skies, just a bit of curiosity and some common household items.
Why DIY?
First off, why would you want to make your own vape? Well, it's like baking your own cake instead of buying one. You know exactly what's going in it, you can customize it to your liking, and there's a certain satisfaction in saying, "I made this!" Plus, it can save you some cash in the long run. Think of it like brewing your own beer instead of buying six-packs. Sure, it takes a bit more time, but the result is uniquely yours.
Safety First
Before we start, let's talk safety. Making your own vape involves dealing with some chemicals, so it's like handling ingredients in your kitchen. You wouldn't want to mix bleach with your pancake batter, right? So, let's be careful. Always wear gloves, safety glasses, and work in a well-ventilated area. And remember, if it smells funny, don't vape it. Your lungs will thank you.
Must Read
Gather Your Ingredients
Now, let's gather our ingredients. You'll need some PG (propylene glycol) and VG (vegetable glycerin), which you can find online or in vape stores. They're like the flour and sugar of our vape cake. Then, you'll need some flavorings. These can be anything from natural extracts like vanilla or peppermint to artificial flavors. Think of them as the chocolate chips or the frosting. Lastly, you'll need some nicotine, if you're into that. It's like the salt in your cake batter - a little goes a long way, and it's optional.
You'll also need some basic equipment. A scale to measure your ingredients, some glass bottles or syringes to mix and store your e-liquid, and some cotton and coil heads for your atomizer. It's like having measuring cups, mixing bowls, and baking sheets for your cake.
Mixing Your E-Liquid
Mixing your e-liquid is like making a simple recipe. You'll want to start with a base of 70% VG and 30% PG. This gives you a good balance between cloud production (VG) and throat hit (PG). Then, add your flavorings. Start with about 10-15% of your total mix, and adjust to taste. Remember, flavors can be strong, so it's better to start light and add more later. If you're using nicotine, add that last. A good starting point is 3mg/ml, but you can adjust based on your preference.
Mixing is easy. Just pour your ingredients into a bottle, put the lid on, and shake it like you're making a cocktail. Let it steep for a few days to let the flavors meld together, and then it's ready to vape.
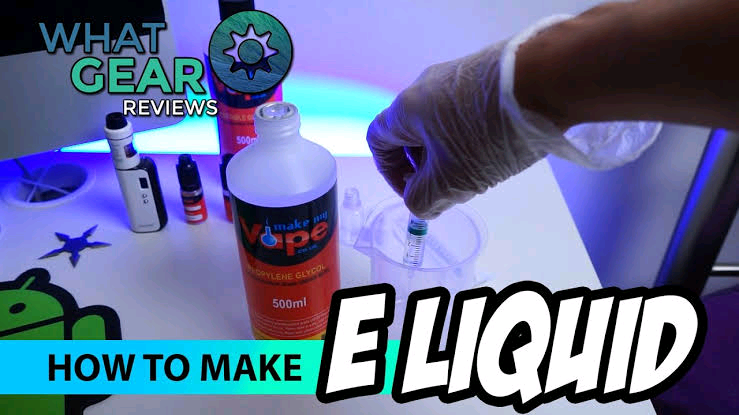 How to Make Your Own Vape Juice: A Comprehensive Guide | UPENDS
Building Your Coil
Building your coil is like making the cake's structure. It's a bit more technical, but don't worry, it's not rocket science. You'll need some wire (like kanthal or nichrome), some cotton, and a drill to make your coil jig. Wrap your wire around a screwdriver or a coil jig, then wrap your cotton around the coil. It's like weaving a basket, but with wire and cotton instead of reeds.
Once your coil is built, install it in your atomizer, prime it with some e-liquid, and you're ready to vape. It's like putting your cake in the oven and waiting for it to bake.
Why Care?
So, why should you care about making your own vape? Well, it's like learning to cook instead of always eating out. You know what you're eating, you can customize it to your liking, and it can save you money. Plus, there's a certain satisfaction in creating something with your own hands. And who knows, you might just discover a new favorite flavor or a better vape than anything you can buy.
But remember, making your own vape is like cooking at home. It takes time and practice to get it right. Don't be discouraged if your first attempts aren't perfect. Keep experimenting, keep learning, and keep vaping. After all, every master was once a beginner.
So, grab your ingredients, roll up your sleeves, and let's get cooking. Or rather, let's get vaping. Happy DIYing!
