How To Make A Regulated Box Mod

Alright, listen up, all you vaping enthusiasts and DIY junkies! Today, we're going to tackle a fun project that's as satisfying as biting into a perfectly ripe peach - buildin...

Alright, listen up, all you vaping enthusiasts and DIY junkies! Today, we're going to tackle a fun project that's as satisfying as biting into a perfectly ripe peach - building your own regulated box mod. Now, before you start imagining this as a high-stakes, brain-busting operation, let me assure you, it's not rocket science. It's more like following a recipe to bake a cake, but with fewer calories and more clouds!
First things first: Gather your ingredients
Just like any other project, the first step is to gather all your materials. For a regulated box mod, you'll need:
- A regulated mod board - think of it as the brain of your mod. It's what regulates the voltage and wattage.
- An 18650 battery - this is the powerhouse of your mod. It's like the engine of a car, providing the juice to make your coils sizzle.
- A battery connector - this is the middleman that connects your battery to the mod board.
- Button and spring - the button is what you'll press to fire up your mod, and the spring gives it that satisfying click.
- Enclosure - this is the case that houses all your components. It's like the shell of a turtle, protecting everything inside.
- Screws, nuts, and washers - these are the little helpers that keep everything in place.
Now, I know what you're thinking - "Where do I even start?" Well, grab a cold drink, find a well-lit spot, and let's dive in!
Must Read
Assembling the brain of the operation
First, let's tackle the mod board. It's like the control center of your mod, so it deserves some respect. Carefully solder the battery connector to the board, making sure the polarity is correct. Remember, positive to positive and negative to negative. If you mix them up, your mod won't work, and you'll have a very expensive paperweight. Trust me, I've been there. It's not a fun place to be.
Next, solder the button and spring to the board. The button goes on the positive side, and the spring goes on the negative. Once that's done, you can give it a test press. If everything is working correctly, you should see the display light up. If not, don't panic! Just double-check your soldering and try again. It's like learning to ride a bike - you might fall off a few times, but you'll get there!
Securing the powerhouse
Now that your board is all set, it's time to secure your battery. Insert the battery into the battery holder, making sure the positive end is facing up. Then, carefully screw the battery holder into place. Remember, tight is right, but not too tight. You don't want to strip the threads. If you do, you'll be in a world of hurt, and your mod will be a sad, broken thing. Nobody wants that.
Once your battery is secure, you can connect it to the battery connector on your board. Again, make sure the polarity is correct. If you're not sure, just remember that the positive side of the battery goes to the positive side of the connector, and the negative goes to the negative. It's like a game of Simon Says - positive to positive, negative to negative. You got this!
Putting it all together
Alright, now that your board and battery are all set, it's time to put everything into the enclosure. This is like the grand finale of your project. It's the moment when all your hard work comes together to create something amazing.
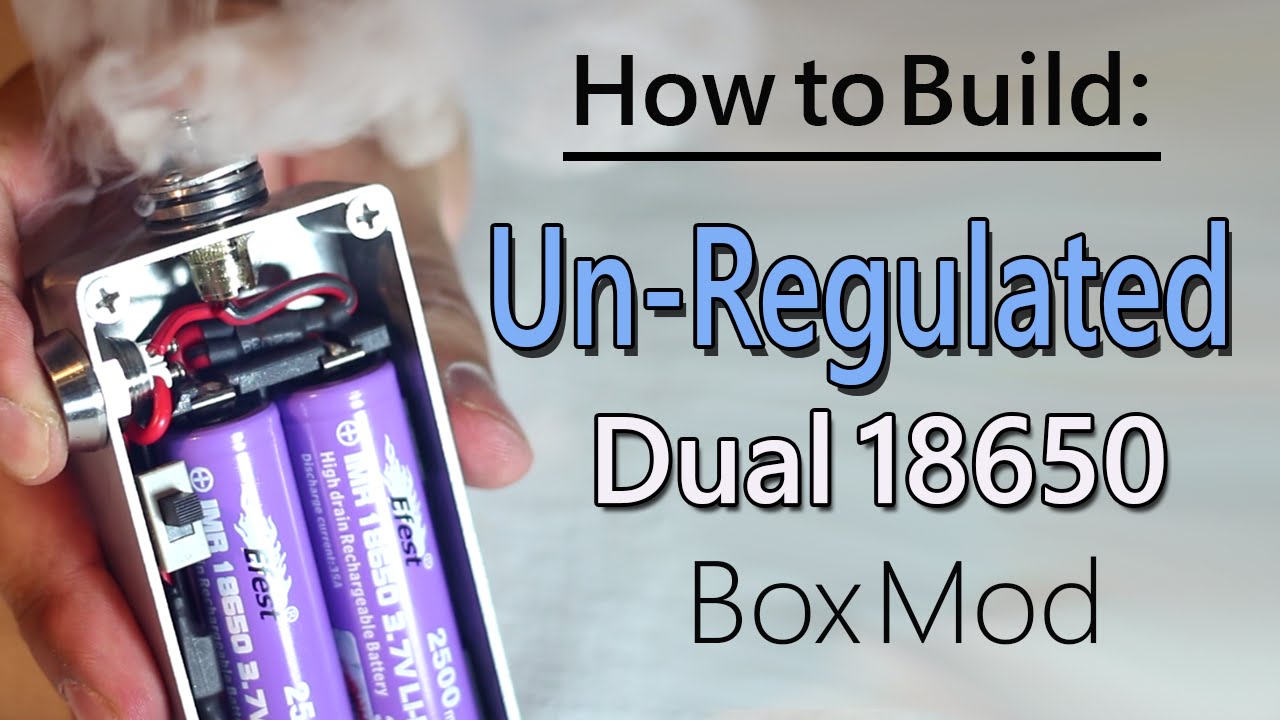 Parallel Vs Series Unregulated Mechanical Box Mods – FBQA
Start by placing your board into the enclosure. Make sure all the wires are tucked away neatly. You don't want any short circuits happening. That would be a disaster, and you'd be left with a very expensive paperweight. Again, I've been there. It's not fun.
Next, screw the enclosure together. Make sure all the screws and nuts are tight, but not too tight. You don't want to strip the threads. If you do, you'll be in a world of hurt. You know the drill by now - tight is right, but not too tight.
Finally, give your mod a test fire. If everything is working correctly, you should see the display light up, and your coil should start to glow. If not, don't panic! Just double-check all your connections and try again. Remember, even the best chefs have to taste their food to make sure it's perfect. The same goes for building mods.
And there you have it!
Congratulations, you've just built your very own regulated box mod! It's like giving birth to a beautiful, cloud-chasing baby. You've put in the time, the effort, and the love, and now you have something to show for it.
So, grab your favorite e-liquid, prime your coils, and take a hit. You've earned it! Just remember to vape responsibly and keep your mod away from little hands and curious pets. We don't want any accidents happening. Safety first, vapers!
Now, go forth and build, my friends. The world of DIY vaping awaits, and it's a beautiful, cloud-filled place. Happy modding!
