How To Make A Dreamcatcher Step By Step

Welcome to the whimsical world of dreamcatcher crafting, where creativity meets tradition and every knot can send a little magic into your night. Whether you’re looking for a...

Welcome to the whimsical world of dreamcatcher crafting, where creativity meets tradition and every knot can send a little magic into your night. Whether you’re looking for a fun weekend activity, a stress‑relieving hobby, or a beautiful piece of boho décor, making a dreamcatcher is both enjoyable and rewarding. As you weave your own web, you’ll discover how this ancient art form can focus your mind, bring a sense of peace, and add a personal touch that no store‑bought item can match.
The original purpose of a dreamcatcher was simple yet powerful: a small hoop with an intricate net was hung above a child’s bed to catch bad dreams while allowing good ones to slide harmlessly to the side. Over time, the symbolism grew into a broader protective charm that many people use for meditation, room décor, or as a good‑luck talisman. When you create your own, you’re not just making a decorative object; you’re harnessing an age‑old belief that we control our own dreams, all while enjoying a tactile, hands‑on process that reduces anxiety and boosts creativity.
Imagine turning a simple metal ring into a celestial mandala by adding a wisp of metallic thread, or weaving a pastel rainbow that mirrors a sunrise. Try incorporating recycled beads from old jewelry for an eco‑friendly twist, or attach tiny feathers that sway gently when a breeze passes through. For a more modern look, consider using neon yarn that glows under black light, turning your dreamcatcher into a night‑time statement piece. Each variation tells its own story, giving you endless options to match your personality or the room’s aesthetic.
Must Read
To get started, you’ll need a few basic supplies that you probably already have at home: a hoop (a metal embroidery hoop, a wooden rod, or even a sturdy plastic ring), macramé cord or embroidery floss, scissors, a ruler, and a sharp needle for threading. Optional accessories include beads, feathers, charms, and a small dab of hot glue to keep decorations secure. Laying everything out on a clean surface before you begin will keep the workflow smooth and help you avoid losing tiny pieces mid‑craft.
Begin by stretching the cord across the hoop, marking the top and bottom points, then create a simple cross‑hatch pattern by looping the thread around the hoop in a consistent spacing—about an inch apart works for most sizes. Once the basic grid is in place, gradually tighten the loops to form a tighter spiral web, pulling each thread snugly to create tension. When the web feels firm, trim the excess cord and secure the end with a tiny knot. Patience is key here; rushing can lead to uneven patterns that break the delicate beauty of the design.
 How To Make A Dreamcatcher Step By Step Easy
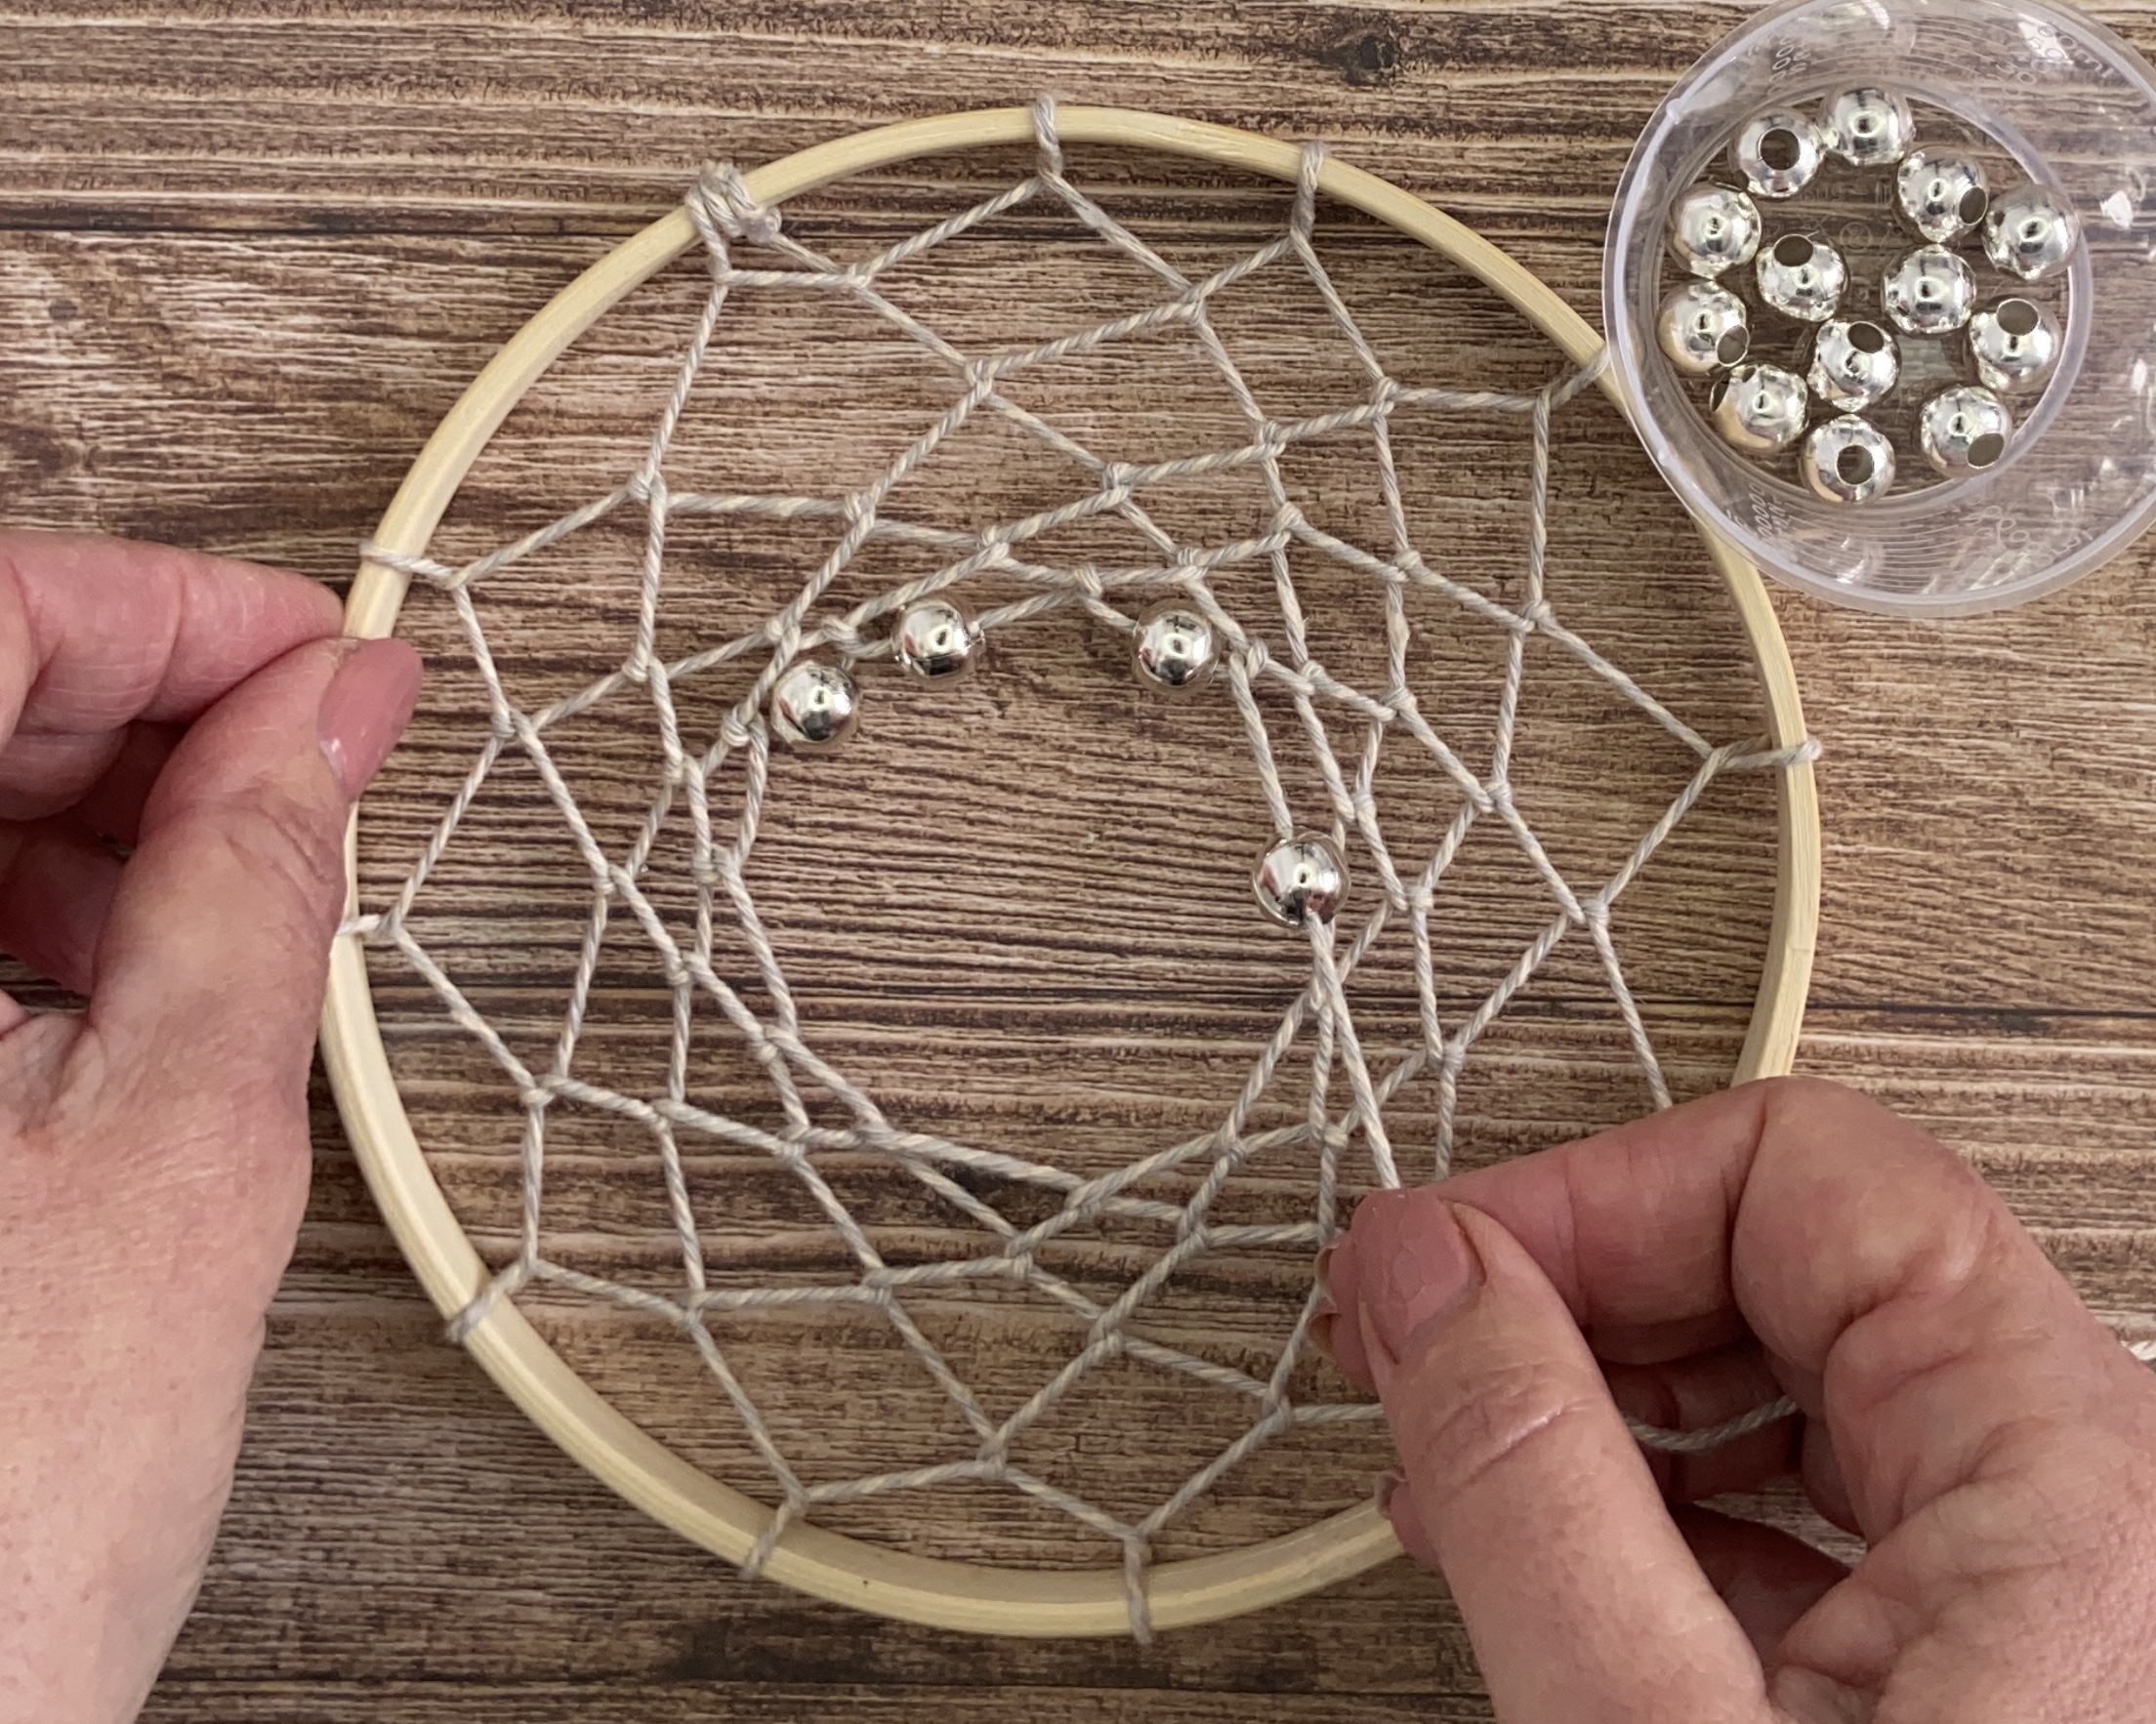
After the weave is complete, it’s time to add the finishing touches. Slide beads onto the outer rim or the central nodes, allowing them to catch light and add texture. Tie a few feathers to the bottom of the hoop, spacing them evenly so they flutter when disturbed. If you’re feeling adventurous, attach a small metal charm—maybe a star or a moon—that resonates with your personal symbolism. Finally, give the dreamcatcher a gentle shake to ensure everything is secure, then hang it above a bed, window, or even a doorway where it can catch the night’s whispers.
With a little practice, you’ll find that each dreamcatcher becomes a creative extension of yourself. Share your creations on social media, gift them to friends as thoughtful handmade presents, or keep a collection that marks different seasons or moods. Remember, there’s no “right” way to weave—every knot, every color choice, and every stray bead adds a unique story. So, gather your supplies, let your imagination run wild, and enjoy the joyful rhythm of crafting a dreamcatcher that not only decorates your space but also protects your dreams.