How To Draw A Realistic House

Ever found yourself staring at a house, thinking, "I could draw that... if only I had a magic pencil!" Well, grab a regular one instead, 'cause we're about to turn that daydre...
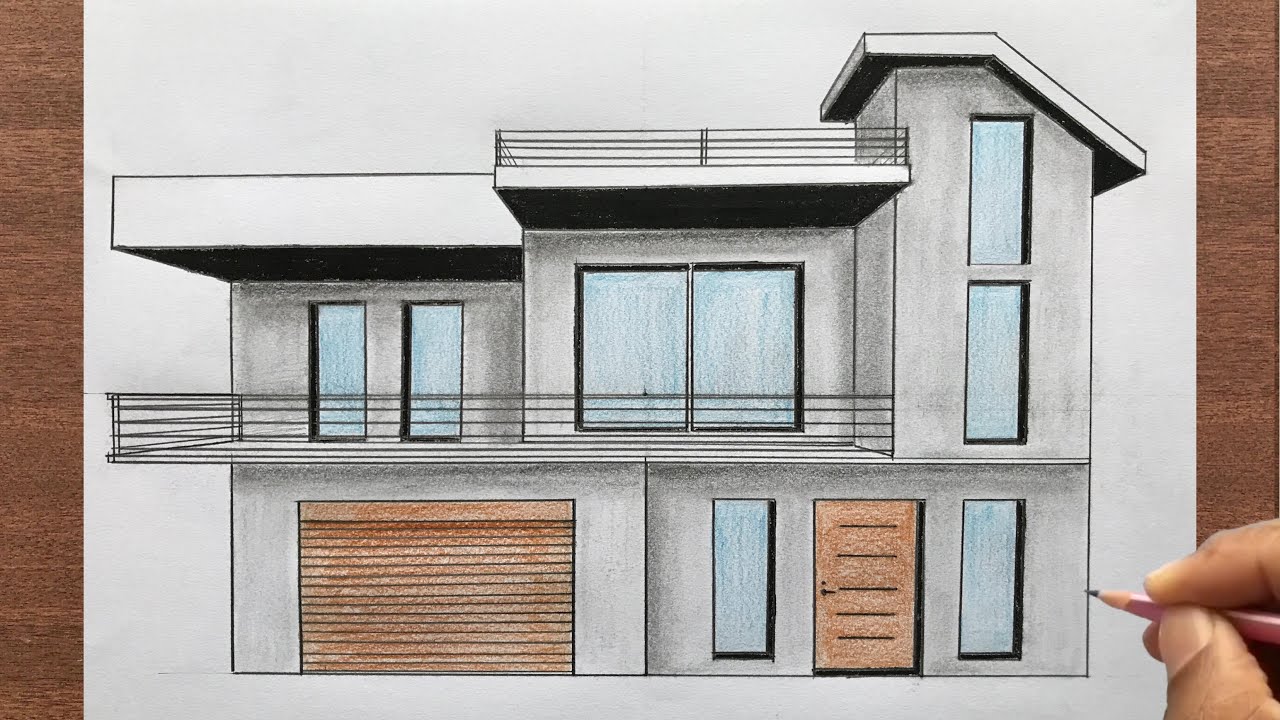
Ever found yourself staring at a house, thinking, "I could draw that... if only I had a magic pencil!" Well, grab a regular one instead, 'cause we're about to turn that daydream into a reality. Drawing a realistic house is like baking a cake - it might seem intimidating at first, but once you know the recipe, you're golden. So, let's dive in, shall we?
Gather Your Ingredients
First things first, you'll need a few supplies. A pencil (HB or 2B works great), an eraser, and some paper. Now, don't go grabbing that crumpled note from your pocket - we're talking about actual drawing paper here. And if you're feeling fancy, add a sharpener and a ruler to your lineup.
Find Your Inspiration
Before you start, find a house that tickles your fancy. It could be your dream home, your childhood house, or even that quirky little cottage down the street. The more you love it, the more fun you'll have drawing it. Once you've found your muse, snap a picture. We're not trying to recreate it from memory - this isn't a magic trick!
Must Read
Sketch the Silhouette
Start by drawing the basic shape of the house. Think of it like tracing the outline of a cookie cutter. Don't worry about details yet, we're just getting the big picture here. Use light, feathery strokes with your pencil. You want to be able to erase this later without leaving any telltale marks.
Now, here's where it gets fun. Imagine you're playing a game of 'Connect the Dots' - but instead of dots, you're connecting lines. Draw the roof, the walls, the windows, and the door. Remember, we're still keeping it simple, like a child's drawing. Don't get bogged down in details yet.
Add Some Depth
Alright, now that we have our basic shape, let's give it some dimension. This is where your pencil can start to put on some pressure. Draw the edges of the roof, the corners of the walls, and the lines where the walls meet the ground. Think of it like tracing the folds of a cardboard box.
Here's a tip: Use your ruler to draw straight lines. It's not cheating, it's just making life easier. And remember, you can always erase if something goes awry. It's like when you're cooking and you add too much salt - a quick fix can save the day!
Windows and Doors
Time to add some personality to your house. Draw the windows and the door. For windows, start with simple rectangles, then add details like panes or arches. For the door, draw a rectangle, then add a doorknob and maybe a little step. Think of it like dressing up a plain old box - suddenly, it's a house!
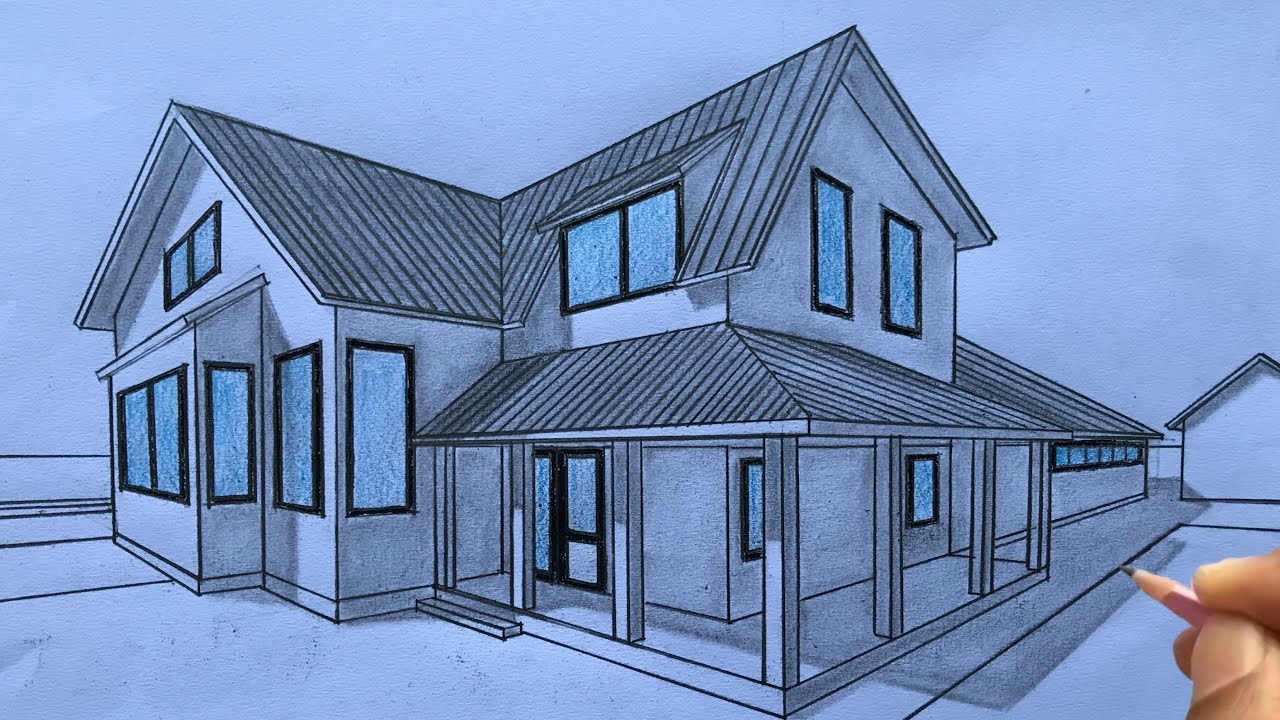 Two Point Perspective House
Don't forget to add some shading to give your windows and door some depth. It's like when you're taking a selfie - a little shadow can make all the difference. Just remember, we're not trying to look like a vampire here, so keep it subtle.
The Finishing Touches
Now that we have our basic structure, it's time to add the final details. Draw the chimney, the porch, the mailbox - whatever makes your heart happy. Remember, this is your house, so make it your own.
Once you're happy with your drawing, it's time to add some final shading. Use your pencil to add darker lines where the sun wouldn't hit, like under the roof or in the corners. It's like giving your house a little tan - just don't go overboard, we don't want a leather house!
Sign Your Masterpiece
And there you have it! You've just drawn a realistic house. It might not be perfect, but it's yours, and that's what makes it beautiful. Don't forget to sign your name at the bottom. After all, every artist should sign their masterpiece. And remember, practice makes perfect. So keep drawing, keep learning, and soon you'll be drawing houses like a pro.
So, go on, show off your newfound skills. Hang your drawing on the fridge, share it on social media, or even use it as a bookmark. Just don't blame us if your friends start asking you to draw their houses too. Happy drawing!
