How To Cook Brown Rice Practical Examples

Okay, let’s be real for a second. Have you ever stood in your kitchen, bag of brown rice in hand, feeling a little bit like you're about to defuse a bomb? You’re not alone. Th...

Okay, let’s be real for a second. Have you ever stood in your kitchen, bag of brown rice in hand, feeling a little bit like you're about to defuse a bomb? You’re not alone. That nutty, chewy goodness is a total game-changer for meals, but it has a reputation for being this high-maintenance diva. But guess what? It's not as complicated as everyone makes it seem, and once you get the hang of it, you'll wonder why you ever settled for its fluffier, less interesting white cousin.
Why even bother with brown rice in the first place? I mean, besides the fact that it tastes like a warm hug from the earth. White rice is basically the background dancer, while brown rice is the lead singer with layers of texture and a deep, almost buttery flavor. It's also packed with fiber, which means it keeps you full way longer than that fleeting cloud of white stuff ever could. It’s the difference between a quick snack and a satisfying meal.
The "Perfect Pot" Method: Your New Best Friend
Let’s start with the most basic, foolproof technique. It’s not sexy, but it works every single time. Grab a pot with a tight-fitting lid—that lid is your secret weapon. Rinse one cup of brown rice under cold water until the water runs clear; this washes away the extra starch that can make it gummy. Think of it like giving your rice a quick shower before the big party.
Must Read
Next, add the rinsed rice to the pot with two cups of water (or broth for extra flavor) and a pinch of salt. Bring it to a boil, then immediately put the lid on, turn the heat all the way down to low, and set a timer for 45 minutes. Don't. Lift. The Lid. I know it’s tempting, but every peek releases steam and ruins the timing—it’s like opening the oven to check on a cake.
After the timer goes off, turn off the heat and let it sit, still covered, for another 10 minutes. This is the "steam bath" that makes every grain fluffy and separate. Finally, fluff it with a fork. That texture, right? Chewy, not crunchy; tender, not mushy. You just made perfect brown rice.
The "Oven Bake" Approach: Set It and Forget It
Maybe you’re more of a hands-off person. You don’t want to hover over a pot; you want to throw things in a dish and walk away. Enter the oven method. Preheat your oven to 375°F (190°C). Grab a covered baking dish or a Dutch oven. Combine 1 cup of rinsed brown rice with 1 ¾ cups of boiling water and a tablespoon of butter or oil.
 Brown Rice Cooking | How to cook Brown Rice Perfectly | Cook brown rice
Cover it tightly (aluminum foil works too) and bake for exactly 60 minutes. Yes, a whole hour. But here’s the cool part: while it bakes, you can prep your stir-fry, binge an episode of your show, or call your mom. The oven does all the work. When it’s done, let it rest for 5 minutes, then fluff. It comes out incredibly even, with almost no chance of burning. It’s the "chill parent" of rice cooking methods.
When Things Go Wrong: The Rescue Plan
So you tried to cook brown rice, and it’s either a concrete block or a soupy mess. Don’t panic. If it’s crunchy and undercooked, it just needs more time and moisture. Sprinkle a few tablespoons of water over the top, put the lid back on, and cook on low for another 10 minutes. If it’s mushy, you cooked it too long or used too much water. Next time, use a little less water or cut the cooking time by 5 minutes.
The real trick? Listen to your rice. It’s not silent. After about 40 minutes, you’ll hear a faint sizzling sound as the water absorbs. That’s the sweet spot. And remember, different brands and ages of rice absorb water differently—your rice might be more thirsty than your neighbor’s. Be flexible. It’s cooking, not chemistry.
The Fun Comparison: Brown Rice Is a Campfire Story
Think of cooking brown rice like building a campfire. If you rush it, you get smoke and frustration. But if you give it the right conditions—patience, a steady low flame, and a lid (like a windbreak)—you get a warm, steady glow that lasts all night. It’s a slow burn, but it’s worth the wait. White rice is a match: quick, bright, and gone. Brown rice is the log that keeps the party going.
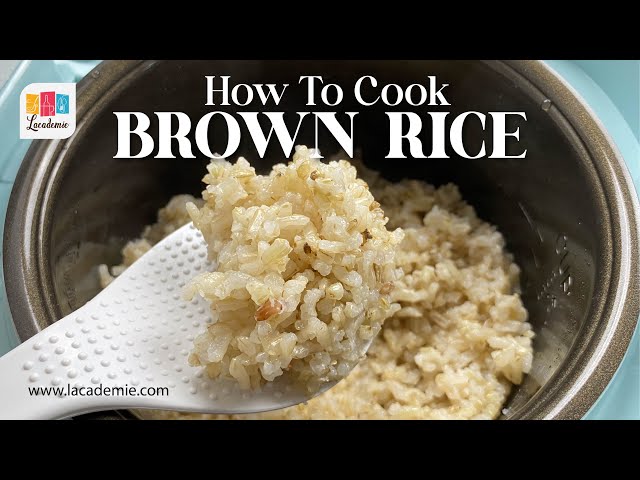 Easy Brown Rice: Unleash the Power of Your Rice Cooker
Want to level up? Try toasting the dry rice in a pan for 3-4 minutes before adding water. It adds a smoky, popcorn-like aroma that makes your house smell like a cozy café. Or throw in a bay leaf, a cinnamon stick, or a clove of garlic while it cooks. The rice soaks up those flavors like a sponge.
The "Leftovers" Reality Check
Here’s the best-kept secret: brown rice is even better the next day. The grains firm up, making it perfect for fried rice, salads, or burrito bowls. Cook a double batch on Sunday, and you have a week’s worth of meals ready to go. Just store it in an airtight container in the fridge for up to five days. Or freeze it in zip-top bags for instant emergency rice.
To reheat, sprinkle with a little water and microwave for 90 seconds, or toss it in a hot pan with oil. It comes back to life like a phoenix from the grainy ashes. Why stress over instant packets when you have the real deal? You are now a brown rice whisperer.
So the next time you see that bag, don’t hesitate. Rinse it, give it time, let it rest. It’s not about perfection; it’s about a delicious, hearty grain that asks for a little patience and gives back a lot of love. Go make some mess in your kitchen—you’ve got this.
