How To Change Coil In Vape

Alright, buddy, let's dive into this vape coil change thing. Don't worry, it's not as scary as it sounds. In fact, it's about as complicated as changing a lightbulb. Well, may...

Alright, buddy, let's dive into this vape coil change thing. Don't worry, it's not as scary as it sounds. In fact, it's about as complicated as changing a lightbulb. Well, maybe a tiny bit more, but we won't tell anyone you found it easy, okay?
First Things First: What's a Coil?
Imagine a coil as the heart of your vape. It's that little thing that turns your e-liquid into a delicious cloud of vapor. Over time, it gets tired and needs a break. That's when you know it's time for a change.
Know When It's Time
How do you know when your coil's had enough? Easy! If your vape starts tasting like burnt popcorn, or the vapor's gone MIA, it's time for a change. Don't wait too long, or you might end up with a mouthful of yuck.
Must Read
Gather Your Troops
Before you start, make sure you've got everything you need. You'll need a new coil (obviously), a screwdriver (usually Phillips), and maybe some cotton if you're using a rebuildable atomizer. Oh, and don't forget to grab your e-liquid. You'll need it to celebrate your success!
Disassembly Time
Alright, let's get our hands dirty. First, unscrew the tank from the mod. It's like separating a naughty toddler from their favorite toy. Not that I'm speaking from experience or anything.
Next, unscrew the base of the tank. You might need to use that screwdriver now. Be careful not to lose any parts. We don't want to be playing 'find the tiny screw' for the next hour.
Out With the Old
Now, here's the fun part. You get to poke and prod at the old coil. Unscrew it from the tank and pull it out. It's like a tiny, vape-related archaeological dig. Just try not to get any e-liquid on your fancy shirt.
In With the New
Okay, now it's time to introduce the new kid on the block. Screw the new coil into the tank base. Easy peasy, right? Just make sure you're screwing it in the right way. We don't want a leaky tank, do we?
Now, if you're using a rebuildable atomizer, this is where you'll wick it. Just cut a piece of cotton, stuff it in, and trim the ends. It's like giving your coil a tiny, fluffy hug.
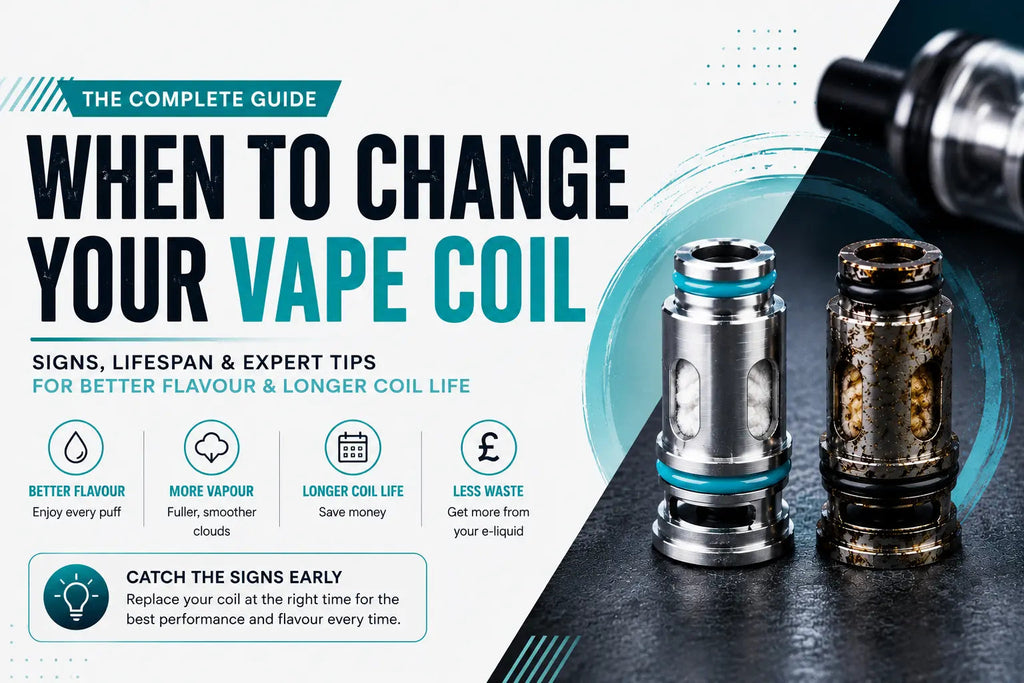 When to Change Your Vape Coil | Signs, Lifespan & Tips
Prime Time
Before you start vaping, you need to prime your coil. This just means getting some e-liquid into the cotton. Drip a few drops onto the cotton, then onto the coil. It's like giving your coil a little taste of what's to come.
Reassembly
Alright, almost done! Screw the tank base back onto the tank. Then, screw the tank back onto the mod. It's like putting together a tiny, vape-related jigsaw puzzle.
Fill up your tank with your favorite e-liquid, and you're good to go! Just remember to let it sit for a few minutes to give the coil time to soak up the juice.
You Did It!
Congratulations, you've just changed your vape coil! Wasn't so bad, was it? Now, go forth and vape happy. You've earned it!
And remember, if you ever forget how to do it, just come back here. I'll be waiting, like a proud parent watching their child's first steps. Just without the tears and the 'look at him go!'s.
Happy vaping, my friend!
