How To Build Your Own Vape

Alright, buddy, let's dive into this vape-building adventure, shall we? Grab a cup of coffee, get comfy, and let's turn this DIY dream into a reality. No, we won't be welding...
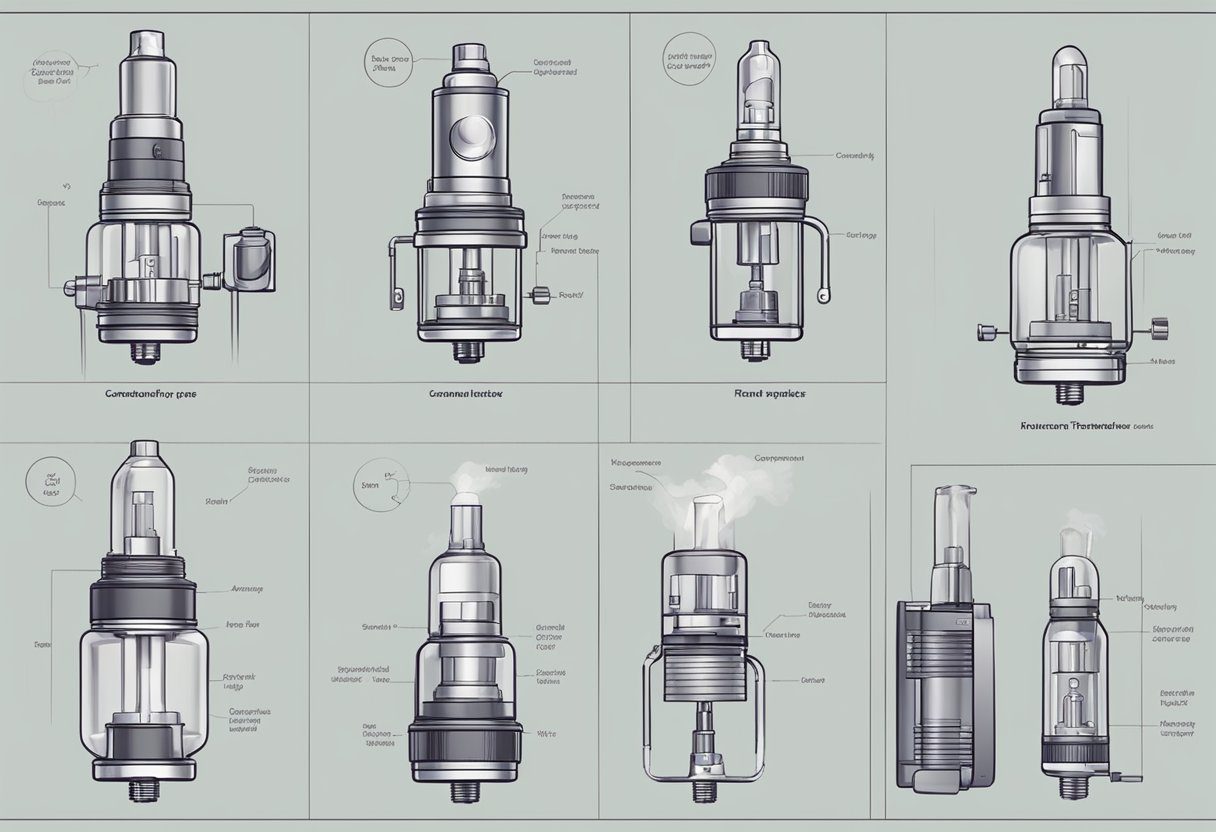
Alright, buddy, let's dive into this vape-building adventure, shall we? Grab a cup of coffee, get comfy, and let's turn this DIY dream into a reality. No, we won't be welding or handling any dangerous chemicals, promise. We're talking about building your own vape pen, and it's easier than you think!
First Things First: What's a Vape Pen?
In case you're new to the vaping scene, let's quickly break it down. A vape pen is a simple, sleek device that heats up e-liquid (that's the stuff you vape) to create a vapor you can inhale. It's like a digital cigarette, but with way more flavor and no nasty tobacco.
What You'll Need: The Vape Pen Kit
Now, let's talk about the tools of the trade. You'll need a vape pen kit, which includes:
Must Read
- Battery: The powerhouse of your vape pen. It's rechargeable, so don't worry about buying batteries in bulk.
- Tank: This is where the magic happens. It's where your e-liquid goes, and it's connected to the coil (more on that later).
- Coil: This little guy heats up the e-liquid and turns it into vapor. It's replaceable, so don't stress about breaking it.
- Charger: To keep your battery juiced up and ready to go.
You can find these kits online or in vape shops. They usually come with everything you need, except for the e-liquid. That's the fun part - you can choose from thousands of flavors!
Assembly Required: Building Your Vape Pen
Alright, let's get our hands dirty. Building your vape pen is as simple as putting together a jigsaw puzzle. Here's how:
- First, charge your battery. Plug it in and let it juice up. While you're waiting, pour yourself another cup of coffee.
- Once your battery's charged, screw on the tank. It should twist on nice and tight. If it's too loose, it might leak, and nobody wants that.
- Now, fill your tank with your favorite e-liquid. Unscrew the top, pour it in, and screw it back on. Easy peasy!
- Next, screw on the coil. It should fit snugly into the bottom of your tank. If it's too loose, it might not heat up properly.
- Finally, prime your coil. This just means dripping a few drops of e-liquid onto the coil to help it wick (that's the cotton inside the coil that soaks up the e-liquid). Let it sit for a few minutes to absorb the liquid.
And there you have it! Your very own, custom-built vape pen. Wasn't that easy?
Safety First: A Word of Caution
Before you start puffing away, let's talk safety. Always allow your coil to sit for a few minutes after you've primed it before you take your first puff. This gives the coil time to soak up the e-liquid and prevents it from burning dry.
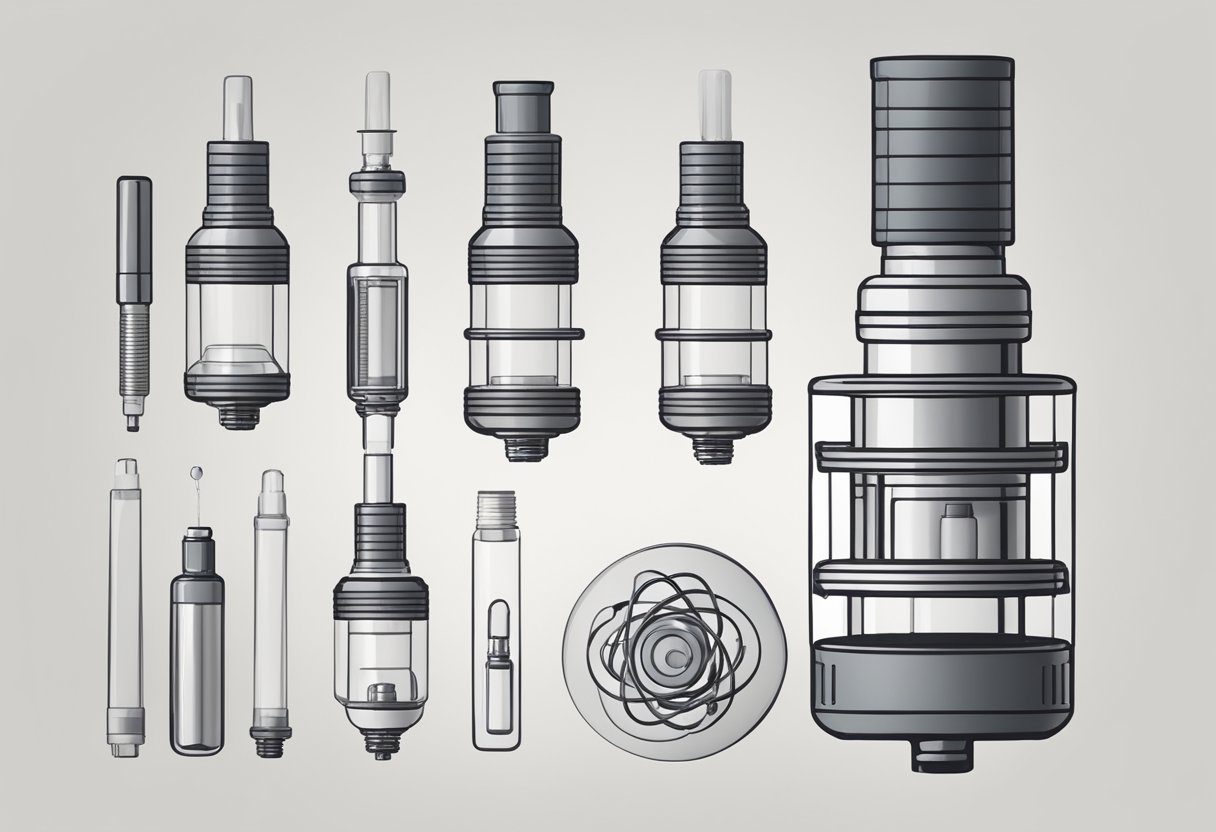 Rebuildable Atomizers Tips: Expert Advice For Building Your Own Vape
Also, never leave your vape pen unattended while it's charging. It's rare, but batteries can overheat and cause a fire. Better safe than sorry, right?
You Did It! Now Go Show Off Your Vape Skills
Congratulations, you're now a proud owner of a custom-built vape pen! Isn't that cool? You've joined the ranks of DIY vape enthusiasts everywhere. So go ahead, show it off, take it for a spin, and enjoy the fruits of your labor.
Remember, vaping is all about having fun and enjoying the experience. So don't be afraid to experiment with different e-liquid flavors, try out new coils, or even build your own coils if you're feeling adventurous.
And who knows? Maybe next time, you'll be the one teaching your friends how to build their own vape pens. Wouldn't that be something?
So here's to you, the newest member of the vape-building community. Keep on vaping, keep on learning, and most importantly, keep on smiling. You've earned it!
