How To Build A Atomizer Coil

Alright, gather 'round, my vaping vagabonds, 'cause we're about to embark on a wild ride into the heart of coil crafting. You know, like those intrepid explorers of yore, but...
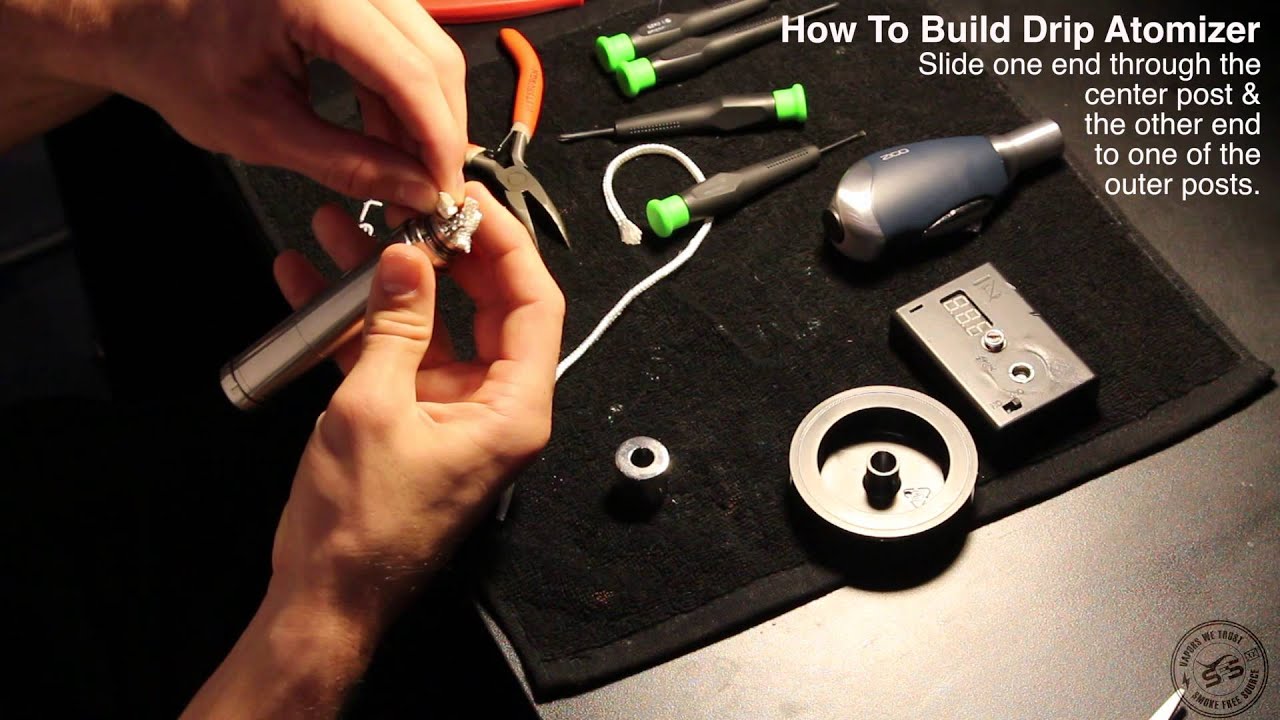
Alright, gather 'round, my vaping vagabonds, 'cause we're about to embark on a wild ride into the heart of coil crafting. You know, like those intrepid explorers of yore, but instead of uncharted jungles, we're diving into the mysterious world of atomizer coils. So, grab your safety glasses, 'cause we're about to get sparky!
First Things First: What's the Deal with Coils?
Now, don't go rolling your eyes like a teenager told to clean their room. Coils are the unsung heroes of the vaping world. They're the ones responsible for turning that tasty e-juice into a luscious cloud of vapor. It's like they're the magicians, and your vape is their top hat.
But why are we building our own coils, you ask? Well, aside from the fact that it's a fun party trick to show off at vaping conventions, building your own coils can save you a pretty penny in the long run. Plus, it's like baking your own bread - sure, store-bought is convenient, but there's just something satisfying about making it from scratch.
Must Read
Gather Your Gear, Adventurer!
Before we dive in, you're gonna need some tools of the trade. Don't worry, we're not talking about a full-blown mad scientist lab here. A simple coil jig, some wire cutters, tweezers, and a drill bit (for those fancy Clapton coils) will do the trick. Oh, and don't forget your trusty multimeter - it's like your trusty sidekick, always there to keep you from shorting out your coil.
As for the wire, you've got options. Kanthal, Nichrome, Stainless Steel - it's like choosing your favorite superhero. Each has its own unique powers, so pick one that suits your vaping style. And don't forget the wicking material - cotton is usually the go-to, but feel free to experiment. Who knows, you might invent the next big thing in vaping!
Fun Fact: Did you know that the first e-cigarettes used a simple heating element to vaporize nicotine? It wasn't until 2003 that a Chinese pharmacist, Hon Lik, invented the modern e-cigarette with a coil-based atomizer. Thanks, Hon! We owe you one.
Let's Get Coily!
Alright, let's dive into the nitty-gritty. First, you're gonna want to wrap your wire around your coil jig. The size of your coil depends on your atomizer, but a good starting point is around 24-28 gauge wire, wrapped to about 3-4mm ID.
Now, here's where things get a bit like a dance. You're gonna want to wrap your wire in a smooth, even motion, keeping the coils close together but not touching. It's like trying to tame a bunch of tiny, metal snakes. Good luck!
Once you've got your coil wrapped, it's time to give it a little trim. Use your wire cutters to snip off any excess wire, and make sure your coil is nice and even. It's like giving your coil a little haircut - you want it neat and tidy.
Now, here's where things get a bit... sparky. You're gonna want to use your drill bit to make a little hole in the center of your coil. This is where your wicking material will go, so make sure it's nice and even. It's like giving your coil a little belly button - it might seem silly, but it's important!
 How To | Build | a Rebuildable Atomizer | Diy Coil | ## Idiot-Proof
Pro Tip: Want to make your coil-building life a little easier? Try using a coil jig with a drill bit attachment. It's like having a little helper, making sure your coils are always perfectly centered.
Wicking: The Unsung Hero
Alright, so you've got your coil all wrapped and trimmed and hole-drilled. Now it's time to give it a little soul - in the form of wicking material, of course.
Take your cotton, and give it a little trim. You want it to be long enough to go through your coil and out the sides, but not so long that it's hanging out like a tongue sticking out. Then, using your tweezers (because let's face it, you're not a contortionist), stuff that cotton into your coil.
Now, here's where things get a little... steamy. You're gonna want to use your multimeter to check your coil's resistance. If it's too high, your coil might not heat up enough to vaporize your e-juice. If it's too low, well, let's just say you might want to invest in some fire-resistant pants.
Once you've got your resistance just right, it's time to prime your coil. Drip some e-juice onto your cotton, making sure it's nice and saturated. Then, take a few dry hits - this will help to heat up the coil and burn off any excess cotton fibers. It's like giving your coil a little baptism by fire.
Fun Fact: Did you know that the average vaper goes through about 3-4 coils per week? That's a lot of coil-building! No wonder we're all such experts at this point.
And... We're Done!
And there you have it, folks! Your very own, handcrafted atomizer coil. Isn't she a beauty? Now, go forth and vape with pride, knowing that you've got the skills to build your own coils. Just remember, safety first - nobody wants to be the vaper who sets their house on fire.
So, what are you waiting for? Get out there and start coil-building! And who knows, maybe one day you'll invent the next big thing in vaping. Stranger things have happened, right?
Until next time, my fellow vaping vagabonds. Happy coil-building!
